I hope you all had a wonderful Christmas. This year I made the now-traditional Christmas bread. I did post about it before but modified the recipe this year and [I think] definitely improved it, so will note the changes here!
Christmas bread
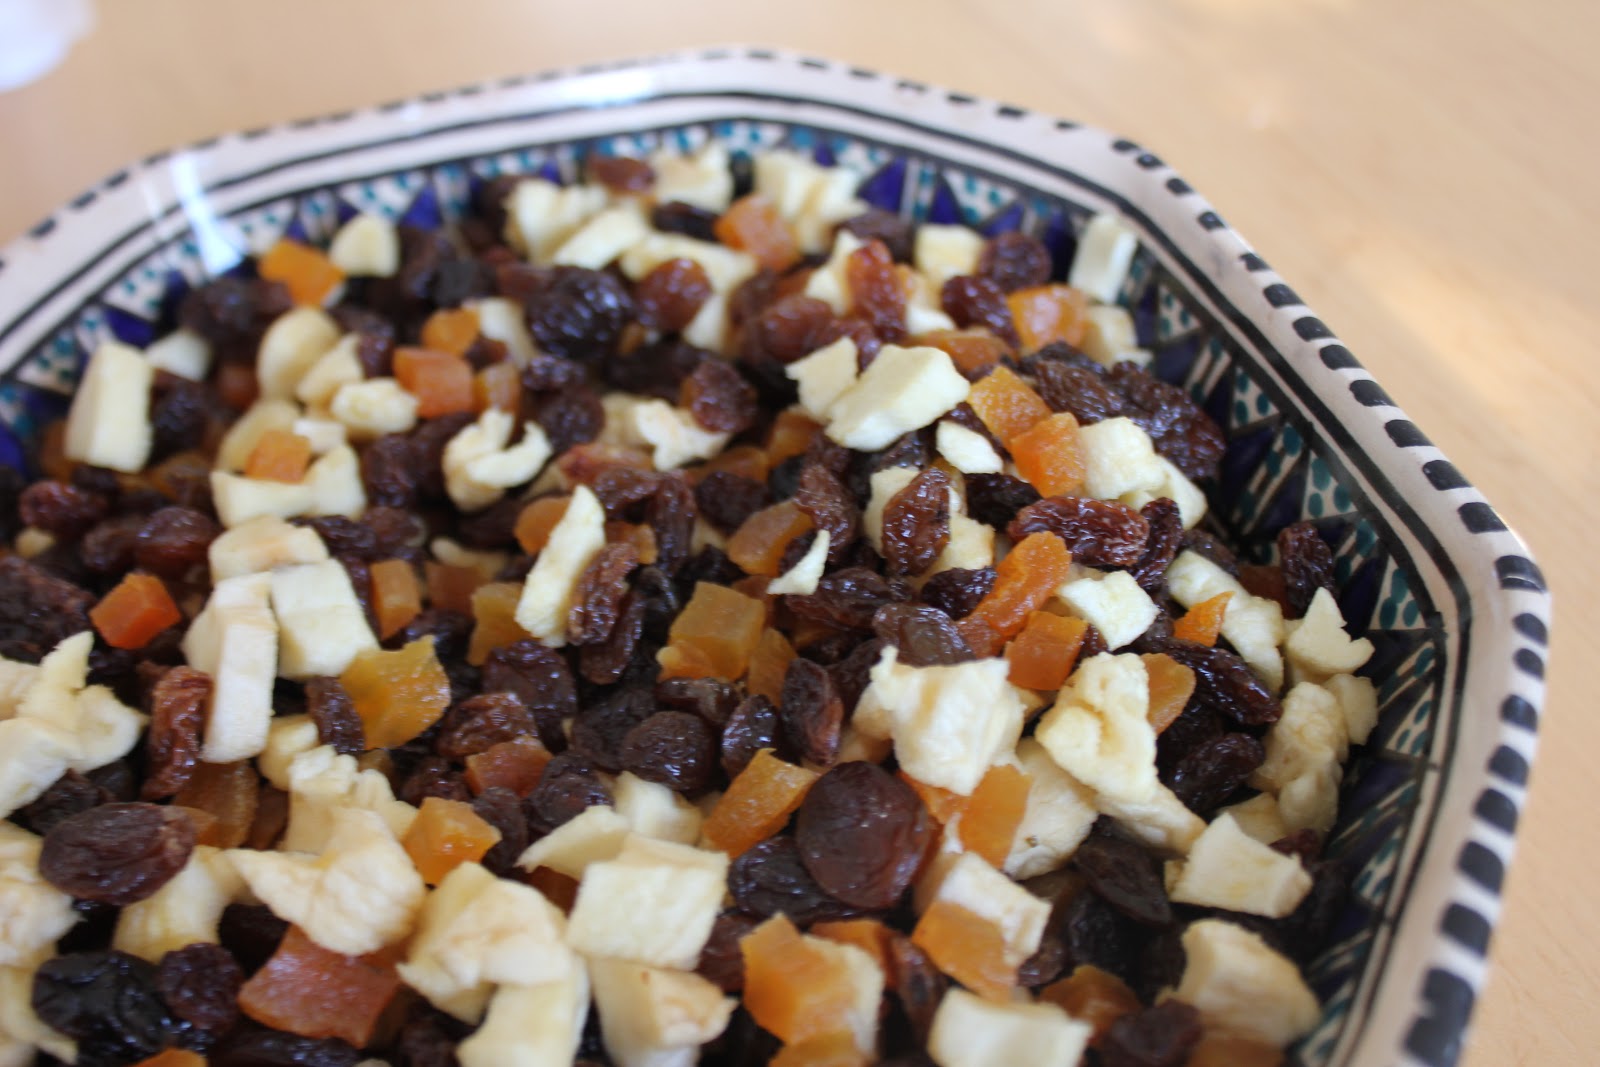
75g raisins 50g raisins
125g sultanas 75g sultanas
50g dried apple, roughly chopped 100g dried apple and apricot, finely chopped
2-3 tbsp apple brandy 2 tbsp normal brandy and 1 tbsp prune liquor
500g strong white flour
150ml warm milk
100g butter, softened
100g golden caster sugar
2 medium eggs
7g dried yeast
1 tsp salt
1 tsp ground allspice 2 tsp ground allspice
1 tsp ground cinnamon 3 tsp ground cinnamon
1 tsp ground ginger
1 tsp vanilla extract 2 tsp vanilla extract
60g hazelnuts, roughly chopped 40g ground hazelnuts
2 tsp mixed peel 1 tsp mixed candied peel
Zest ½ orange zest of 1 orange
squeezed juice from 1/2 orange
Please see the link for the directions. The only difference was that I left the mixture to rise overnight for the second time and the finishes bread was much less stodgy than last year.
Thursday, 27 December 2012
Monday, 17 December 2012
Apple Butter
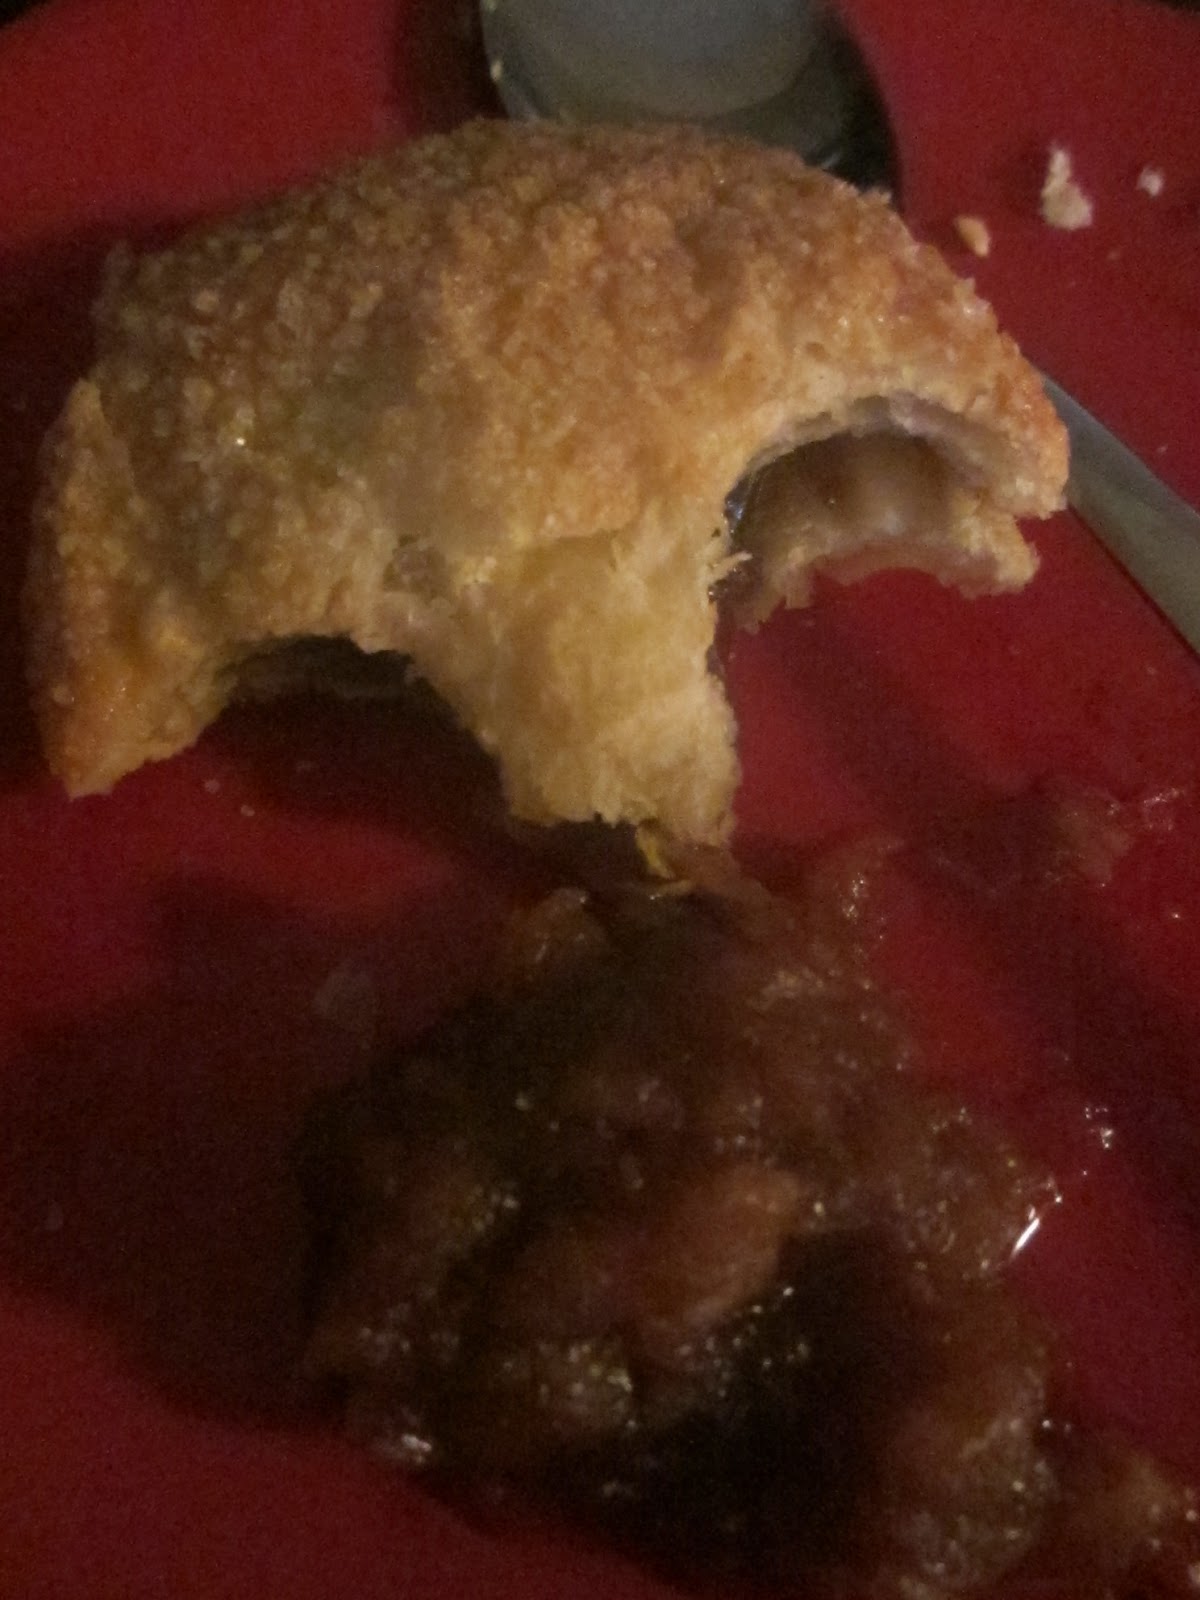
I have finally [successfully] have used my new/freecycled crockpot! I did try to make baked potato soup before but it failed miserably, mainly because I don't have a blender.. I decided to make some Apple Butter for a Christmas meal I was attending to go with some puff pastry mince pies. I modified the recipe a little by taking away some sugar and adding a bit more spice and it was very sweet and delicious. I also don't have a blender so I cooked for about 6 more hours (so 16 in total) and used a potato masher. It wasn't puree but close enough.
6 large apples
1/3 white sugar
1/3 brown sugar
1 tsp ground cinnamon
1/4 tsp allspice
1/4 tsp ground nutmeg
Place all ingredients in a slow cooker, mix well and cook on low/medium low for 14 hours. Blend or mash then cook on high for 1-2 hours. Jar when cool.
6 large apples
1/3 white sugar
1/3 brown sugar
1 tsp ground cinnamon
1/4 tsp allspice
1/4 tsp ground nutmeg
Place all ingredients in a slow cooker, mix well and cook on low/medium low for 14 hours. Blend or mash then cook on high for 1-2 hours. Jar when cool.
Wednesday, 31 October 2012
Cheddar Bacon Ranch Pull Apart Bread
I have been involved in a new society at University this year - The Sussex Foodies. As it is new we've taken some time to get organized but last night had our first event and social which was a Pot Luck/Bring a Dish party. I trawled through the many recipes I have saved on Pinterest and decided to make Cheddar Bacon Ranch Pulls from Plain Chicken. I had to modify the recipe slightly as you can't get ranch dressing mix here in the UK I don't think, just dressing. I also added onion as I thought they would give a nice flavour. Everyone really loved it so I will certainly be making this again - perhaps with a bit more cheese and bacon next time!
1 round white loaf
4-6 rashers streaky bacon cut into bits
Half an onion cut into small bits
Half a block of Cheddar cheese sliced thinly
Ranch dressing
Cut the loaf across both ways stopping at the bottom so it's still held together.
Pour the dressing into all the gaps, then full with cheese, bacon and onion.
Wrap in tin foil and bake for 15 mins at 200C, then unwrap and bake for another 15 mins or until your bacon is cooked and your cheese is melted.
It doesn't look quite as good as the one in Plain Chicken but it tasted great. Because I had to take mine to event I brought it cold and had to microwave - it wasn't quite as good as it would have been fresh out of the oven but it certainly worked and I would do it again.
1 round white loaf
4-6 rashers streaky bacon cut into bits
Half an onion cut into small bits
Half a block of Cheddar cheese sliced thinly
Ranch dressing
Cut the loaf across both ways stopping at the bottom so it's still held together.
Pour the dressing into all the gaps, then full with cheese, bacon and onion.
Wrap in tin foil and bake for 15 mins at 200C, then unwrap and bake for another 15 mins or until your bacon is cooked and your cheese is melted.
It doesn't look quite as good as the one in Plain Chicken but it tasted great. Because I had to take mine to event I brought it cold and had to microwave - it wasn't quite as good as it would have been fresh out of the oven but it certainly worked and I would do it again.
Tuesday, 25 September 2012
New Photos
Finally I am back in the UK and back at university. Over the summer I have been clicking away in both New Zealand and France and now have some new photos in my etsy store! I have been learning more about my camera and how exactly it works which helps me take better photos. My original prints in the post from Italy are also still for sale.
Here is a showcase of my new prints in my etsy store. If you would like any you can get a 20% discount if you message me mentioning this blog, or a 40% discount if you buy 3 or more.
Tuesday, 28 August 2012
Coke Pulled Pork
When my friend pulled a nice slab of boneless pork out of the freezer for dinner I instantly wanted to make pulled pork. I loveeeeeee pulled pork. There are sooo many different recipes for pulled pork online and after trawling through them I figured they couldn't be that different. We didn't have a lot of the ingredients for a lot of the recipes so we found a recipe on Jamie Cooks It Up with just two ingredients (other than the pork): coke and bbq sauce. Easy! The recipe also called for the pork to be seared before putting it in the slow cooker to give it a smokey flavour. Because I didn't have the rub I just covered the pork in salt before I seared it.
Because I had seen so many other recipes I did add a few extra ingredients we already had around the house.
Pork roast
1l Coke
Worcester sauce
Tomato sauce
BBQ sauce
Salt
Soft buns
Coleslaw
Sear the pork roast after covering it in salt. Place in the slow cooker and top with tomato sauce then the coke.
Cover and cook on low for 6-7 hours or until meat shreds easily with a fork. Once it is, take out and shred completely, then put back in the coke mixture for another hour covered on low.
Drain the mixture leaving some moisture in the meat then add BBQ sauce, worcester sauce and tomato sauce to taste. Cook for another 30 mins -1 hour covered on low.
To serve, I have usually had pulled pork on toasted soft buns with coleslaw and love it like this, so this is how I served it.
Thank god there were leftovers!
Because I had seen so many other recipes I did add a few extra ingredients we already had around the house.
Pork roast
1l Coke
Worcester sauce
Tomato sauce
BBQ sauce
Salt
Soft buns
Coleslaw
Sear the pork roast after covering it in salt. Place in the slow cooker and top with tomato sauce then the coke.
Cover and cook on low for 6-7 hours or until meat shreds easily with a fork. Once it is, take out and shred completely, then put back in the coke mixture for another hour covered on low.
Drain the mixture leaving some moisture in the meat then add BBQ sauce, worcester sauce and tomato sauce to taste. Cook for another 30 mins -1 hour covered on low.
To serve, I have usually had pulled pork on toasted soft buns with coleslaw and love it like this, so this is how I served it.
Thank god there were leftovers!
Sunday, 12 August 2012
Sorbetto Top
When I was in Luxembourg a few weeks ago I started making the Sorbetto top. Since Wendy sent me the pattern I have seen it on numerous blogs and now I know why. It's so simple and such a great pattern I'm planning it in numerous colours and patterns.
You can play around with different bias and different box pleat and even lengths which I really love. For my first top I.. wait for it.. MADE my own bias binding in the same fabric! I used Wendy's bias binding maker. You can get them in different sizes for different projects. I have one on my christmas list now!
Because it's quite a loose-fit top I put in some darts at the back as well as at the front to pull it in at the waist a bit which worked well. I'm looking forward to being reunited with my sewing machine so I can make more!
You can play around with different bias and different box pleat and even lengths which I really love. For my first top I.. wait for it.. MADE my own bias binding in the same fabric! I used Wendy's bias binding maker. You can get them in different sizes for different projects. I have one on my christmas list now!
Because it's quite a loose-fit top I put in some darts at the back as well as at the front to pull it in at the waist a bit which worked well. I'm looking forward to being reunited with my sewing machine so I can make more!
Saturday, 4 August 2012
Strawberry Tomato Salsa
I saw this recipe on Life Away from the Office Chair and immeadiately wanted it. I made it for lunch for the next day and it was delicious. I changed the quantities a bit as I found the dressing was too much so my modified version is below, but do check out the original one to see which you prefer.
Serves 2 for a light lunch
1 pint chopped strawberries
1 pint of cherry tomatoes cut in half
1/2 cup chopped cilantro/coriander
2 Tablespoons Balsamic vinegar
2 tablespoons olive oil
Sprinkle of salt
Mix!
The recipe calls for it to be refridgerated for an hour. I don't think this is necessary as it was great as soon as it was mixed. Because I made it for lunch I refridgerated overnight then had it out all morning before I ate it and it was still great. The strawberries were a little mushy but that just meant the dressing at the bottom was delicious and strawberry-ey. I had it with a slice of wholemeal olive bread, not the perfect combination but a bit of normal bread to mop up the sweet dressing at the end would be perfect. yum. It would also be good to take to summer get togethers/brunches.
I also enjoyed making this recipe because my hands smelt GREAT afterwards; A mixture of coriander and strawberry juice. I kept sniffing them!
Thursday, 2 August 2012
Pattern Pyramid Giveaway Winner
Well done Tina from Down the Retro Rabbit Hole who won the third round of the Pattern Pyramid Giveaway.
Good luck to everyone who enters future rounds of this awesome giveaway.
Friday, 27 July 2012
Pattern Pyramid Giveaway - round 3
I am incredibly excited to be hosting my own first-ever giveaway, thanks to winning the second round of the Pyramid Pattern Giveaway at dottiedoodle. It was very exciting to receive this package this morning.
As mentioned in my previous post, this is a chain giveaway so there are rules! One of which is I get to choose my own pattern before passing along the bundle! So I chose..
If you want to win the third round of the Pattern Pyramid Giveaway, your pick out of one of the below and the chance to host your own giveaway just read on..!
1. Anyone, anywhere can enter by leaving a comment on this post by midnight GMT on Wednesday 1 August but you must have an active blog. Sorry this is quite a short draw, I fly off to New Zealand on Friday and so want to get them off and posted. If you have entered, please do check your emails as early as you can on Thursday as if you're a winner I'll need your address ASAP! [If you don't, I'll try to stuff the pack in my luggage and send it from down-under.]
2. I will randomly select one winner, and post them the collection of 4 patterns along with hand woven labels to be sewn into anything made from the picked pattern.
3. The winner will pick one pattern to keep for themselves, then host their own giveaway on their blog. They will randomly select a winner, post the remaining patterns to that Person D. Person D will pick a pattern for themselves, host their own giveaway and post the remaining patterns to the winner... etc!
For more information on this chain giveaway including details of the charity supported by generous pattern donor visit Did you Make that?
Get commenting and good luck!
As mentioned in my previous post, this is a chain giveaway so there are rules! One of which is I get to choose my own pattern before passing along the bundle! So I chose..
If you want to win the third round of the Pattern Pyramid Giveaway, your pick out of one of the below and the chance to host your own giveaway just read on..!
1. Anyone, anywhere can enter by leaving a comment on this post by midnight GMT on Wednesday 1 August but you must have an active blog. Sorry this is quite a short draw, I fly off to New Zealand on Friday and so want to get them off and posted. If you have entered, please do check your emails as early as you can on Thursday as if you're a winner I'll need your address ASAP! [If you don't, I'll try to stuff the pack in my luggage and send it from down-under.]
2. I will randomly select one winner, and post them the collection of 4 patterns along with hand woven labels to be sewn into anything made from the picked pattern.
3. The winner will pick one pattern to keep for themselves, then host their own giveaway on their blog. They will randomly select a winner, post the remaining patterns to that Person D. Person D will pick a pattern for themselves, host their own giveaway and post the remaining patterns to the winner... etc!
For more information on this chain giveaway including details of the charity supported by generous pattern donor visit Did you Make that?
Get commenting and good luck!
Friday, 20 July 2012
MLM Summer Cocktails
My friends and I wanted to make mojitos for a BBQ we had last week. We brought together our ingredients and instead of having rum we had Martini Bianco, so mojitos were out of the picture. We had limes and mint ready but also a very ripe delicious Indian mango. What came next was magical, the creation of the perfect summer cocktail.
Serves 3/4
1 ripe Indian Mango (the soft kind)
2 cups ice cubes
1 Lime
5/6 mint leaves
3/4 servings of Martini
Water/lemonade
Scoop out the fruit of the lime and the mango. Put everything except the water/lemonade into a blender until the ice has blended. Pour into cups and top up with lemonade or water (I had water). Garnish with a mint leaf and/or a lime wedge.
This picture was what happened when we mixed the ingredients in the blender without the alcohol and mint leaves - still good but mixing them in the blender on the second round was better.
Does anyone else have their own conconctions for summer cocktails? Enjoy!
Thursday, 19 July 2012
Skinny Chunky Monkey Cookies
Because I am on a special diet at the moment I can't eat white flour or sugar. I had pinned these cookies from Six Sisters a while ago but my friends coming around for dinner yesterday gave me a perfect excuse to make a batch and try them out. Cookies with no sugar sound bad I know, but these were suprisingly satisfying. They weren't that sweet but just sweet enough if you have a few (and you can! they're healthy!)!
Makes 30 small cookies
3 ripe bananas
2 cups oats
1/4 cup peanut butter (the recipe calls for creamy but I used crunchy)
1/4 cup unsweetened cocoa powder
1/3 cup unsweetened applesauce
1 tsp. vanilla extract
Preheat the oven to 170C/350F. Mash the banana in a bowl then mix in the remaining ingredients.
Leave to stand for minimum 20 minutes and then spoon teaspoonfuls onto a cookie tray covered with baking paper.
Makes 30 small cookies
3 ripe bananas
2 cups oats
1/4 cup peanut butter (the recipe calls for creamy but I used crunchy)
1/4 cup unsweetened cocoa powder
1/3 cup unsweetened applesauce
1 tsp. vanilla extract
Preheat the oven to 170C/350F. Mash the banana in a bowl then mix in the remaining ingredients.
Leave to stand for minimum 20 minutes and then spoon teaspoonfuls onto a cookie tray covered with baking paper.
Bake for 20 minutes. You can freeze them once completely cool in a freezer bag (if you wanted.. I didn't because I wanted to EAT them!).
The recipe calls for them to be baked for 10-12 minutes only. I took one out after this time and it was very soft in the middle. If you're one of those people that like eating cookie dough and soft cookies (which I'm sure 99% of you are) then 10-12 minutes is fine. I am one of those people that prefers a crunch so I doubled the time. Unfortunately they did not get crunchy but a little more firm and I preferred them that way.
Tuesday, 17 July 2012
I won!
I have been avidly following a chain pattern giveaway I stumbled upon on Did you make that? recently. She inherited a bunch of patterns and decided to do a giveaway; The Pattern Pyramid - "a pyramid construction for spreading pattern love around the world". I entered the draws of the people who won from her initial draw and much to my absolute DELIGHT, have just found out I won at dottiedoodle. I've been trying to zoom in on the pictures of the patterns she has up to see what I'm getting. She's also running a Twelve in Twelve giveaway in which one lucky commenter each month wins a pattern so check that out too!
Watch this space for the Pattern Pyramid Giveaway - while you're at it you could add the button and get excited.
<div align="center"><a href="http://didyoumakethat.wordpress.com/" title="Didyoumakethat"><img src="http://didyoumakethat.files.wordpress.com/2012/06/pattern-pyramid-small-button.jpg" alt="Didyoumakethat" style="border:none;" /></a></div>
Monday, 16 July 2012
Tied with a Bow Pouch
As I had a strip of patterned fabric left over from Bailey's skirt I wanted to do something to match the skirt as an extra gift. I looked around mostly on Pinterest but Wendy found a cute little pouch tutorial on Mommy by Day Crafter by Night.
I made it smaller than the tutorial as I didn't see a use for such a long pouch although I did intend to make it a little bigger than it turned out. I still need to learn how to properly sew the ends of a zip! I rarely get it right.
Using Wendy's ultra-cool sewing machine I machine embroided Bailey's initials on the lining of the pouch.
I would say one thing to change if you are attempting the pouch yourself is to sew the bow into the circular mid section. Otherwise it is quite easy to pull your bow right out of the pouch.
I made it smaller than the tutorial as I didn't see a use for such a long pouch although I did intend to make it a little bigger than it turned out. I still need to learn how to properly sew the ends of a zip! I rarely get it right.
Using Wendy's ultra-cool sewing machine I machine embroided Bailey's initials on the lining of the pouch.
I would say one thing to change if you are attempting the pouch yourself is to sew the bow into the circular mid section. Otherwise it is quite easy to pull your bow right out of the pouch.
Tuesday, 10 July 2012
Elasticated skirt
In June when I was still in the UK and had my sewing machine I decided to get working on a present for Bailey, who was my inspiration for all this creation as well as blogging. As I have mentioned in a previous blog post, she made me such a beautiful quilt for Christmas one year and I can't get over how wonderful it is. It was her 21st this July so I wanted to make her something nice with my improved sewing skills. I had some fabric that suited her perfectly but there wasn't that much. I was toying with the idea of a bag or purse but she has made them in the past probably better than I could have made. I found this tutorial and really wanted to try it out but I didn't have enough of the fabric I had saved for Bailey. So, I bought some red cotton that coordinated with it and it worked so well.
I followed the instructions mostly apart from the fact I sewed a strip of red cotton onto the end of my patterned fabric - both to make the skirt long enough and to add a little something to it. Even though it is risky making clothes for people with no measurements (otherwise it would have ruined the surprise!) I wasn't too worried as it was a elasticated waist so there was a big leeway - also I could have quite easily shortened the elastic or brought up the hem to fit after I gave it to her. I made a huge mistake at the beginning and started to cut the fabric in half before I realised I didn't want to, so it worked out okay in the end as I could cover the cut bit with the red.
I made another mistake when I wasn't following the instructions properly and made things difficult for myself - sewed up the ends to make the skirt before hemming or putting the elastic in! It wasn't a huge problem with the hemming (just a bit more fiddly) but I had to undo the stitching to get the elastic in, and redo it when I had done it.
As a pointer, once you have the elastic through you can safety pin one end to the other so you can try it on and amend as you like without the risk of you losing the end of elastic. I had to look at pictures of Bailey and I and decided we were about the same size so measured the skirt on myself to fit.
I also hemmed this skirt properly so there isn't an ugly fraying seam under the skirt. I'm learning new things all the time.
I love the way it turned out and she was delighted with the skirt. I'm definitely going to make one for myself! In my next post I'll show you the little matching something I gave her with the skirt.
Subscribe to:
Posts (Atom)