Pages

Monday, 9 July 2012

Jack Daniels Cake Tutorial

Bailey's 21st birthday party was an explosion of great Southern American food. Everything was there; baked beans, corn on the cob, pulled pork, coleslaw, potatoes, and my favourite: ribs.


Last year for Bailey's birthday I made the esteemed rainbow cake (which I repeated for Faron's birthday - see here) so I wanted to make a tradition of it and attempt another great cake. Running with the theme of the night I looked up how to make cakes in the shape of ribs, corn, etc., but I didn't think I could quite pull it off (and the thought of eating something that looks like ribs but tastes like cake isn't the greatest thing in the world). Then I found it: Jack Daniels, the Southern American liqor. I also thought it was quite fitting due to it being her 21st; a boozy cake is highly necessary! After a bit of searching around I'd found some great Jack Daniels shaped cakes with no recipe/tutorial, or Jack Daniels recipes with no bottle shape. So here it is.. a Jack Daniels Cake Tutorial.

I wanted this cake to be perfect so Faron and I made a pratice cake and glaze to see how it went. I learnt something - Faron is great at carving cakes into shapes! From that I knew exactly how to modify the recipe and to make the perfect JD bottle shaped cake. I also learnt that even though you make a practice cake you might still mess up the real cake. He was a lot better than me!


I got the recipe from the caked crusader and wow, what a great brilliant incredible recipe. This cake is seriously good, I'm warning you now. The glaze and the cake are magical together. I'll write out the recipe again and make a few modifications I found worked better or translations for UK audiences! As I made the cake into a Jack Daniels Bottle shape you will need a square cake pan not a bundt.

Cake

1 1/2 cups water
1/2 cup + 3 tablespoons Jack Daniel’s Whiskey
1 tablespoon instant coffee powder
1 1/4 cups unsalted butter (pretty much 250g stick with a bit left over for greasing the pan)
1 cup cocoa powder
2 cups sugar
2 eggs
2 cups plain flour
2 teaspoons baking powder

- Preheat oven to 325F/160C. Grease a 9x9 inch square cake pan, make sure to do this well otherwise this happens:


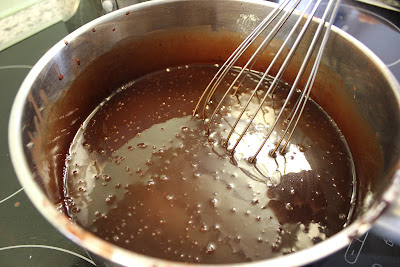
- In a large saucepan heat and stir water, whiskey, coffee powder, butter and cocoa until butter melts.
- Remove from heat and beat in sugar
- Cool slightly and whisk in eggs, blending thoroughly 
- In a bowl stir together flour and baking powder
- Beat into chocolate mixture until incorporated
- Turn batter into cake pan
- Bake for 60-75 minutes, until a knife comes out clean
- Immediately sprinkle warm cake with 2 tablespoons of whiskey
- Let the cake cool completely on a wire rack (If you remove it too early the bottom will be extremely soggy)
- Once cooled, turn onto serving dish and sprinkle the top with remaining 1 tablespoon of whiskey


Shape

Once cooled you can cut your cake into shape. Start by cutting two sides off to form the body of the bottle.


Next cut off about 1/3 of the bottom of the sides you just cut off and cut them both in half lengthways.


This will form your bottle neck in a good rounded shape where the cake rose in the middle while baking.
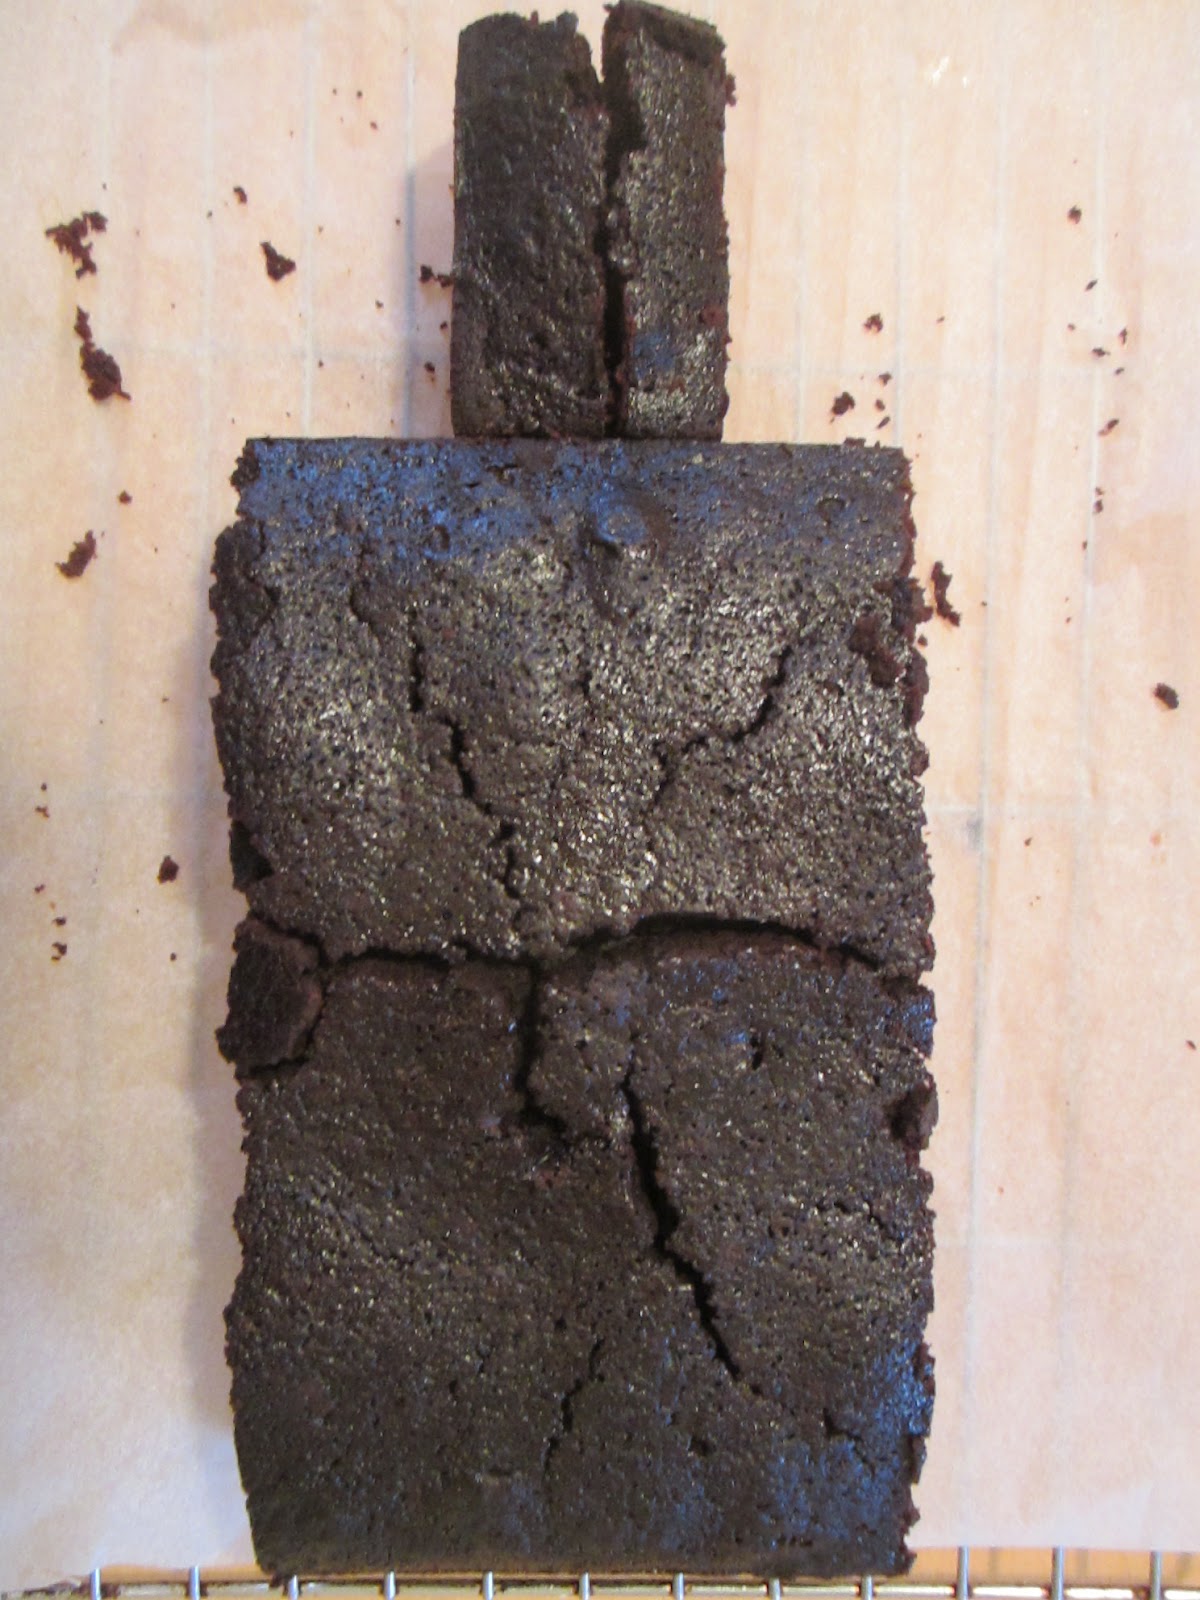


Next cut off two small bits to form the cap, they can come from wherever  you have left.


I had a bit of a nightmare during cooking as I started having dinner so forgot about the cake for a bit. It didn't burn but it was dryer than the practice cake especially on the outside - yours shouldn't be this crumbly.


Glaze


1 1/2 ounces dark cooking chocolate
1/4 cup unsalted butter
1 cups powdered sugar
3 tablespoons demi-creme/half fat cream/half-and-half
2 tablespoons Jack Daniel’s (depending on if you want to taste the whiskey or not) 
1/2 teaspoon vanilla extract


- Melt chocolate and butter in a double boiler/bain-marie then remove from heat
- Add cream, whiskey and vanilla extract to chocolate mixture
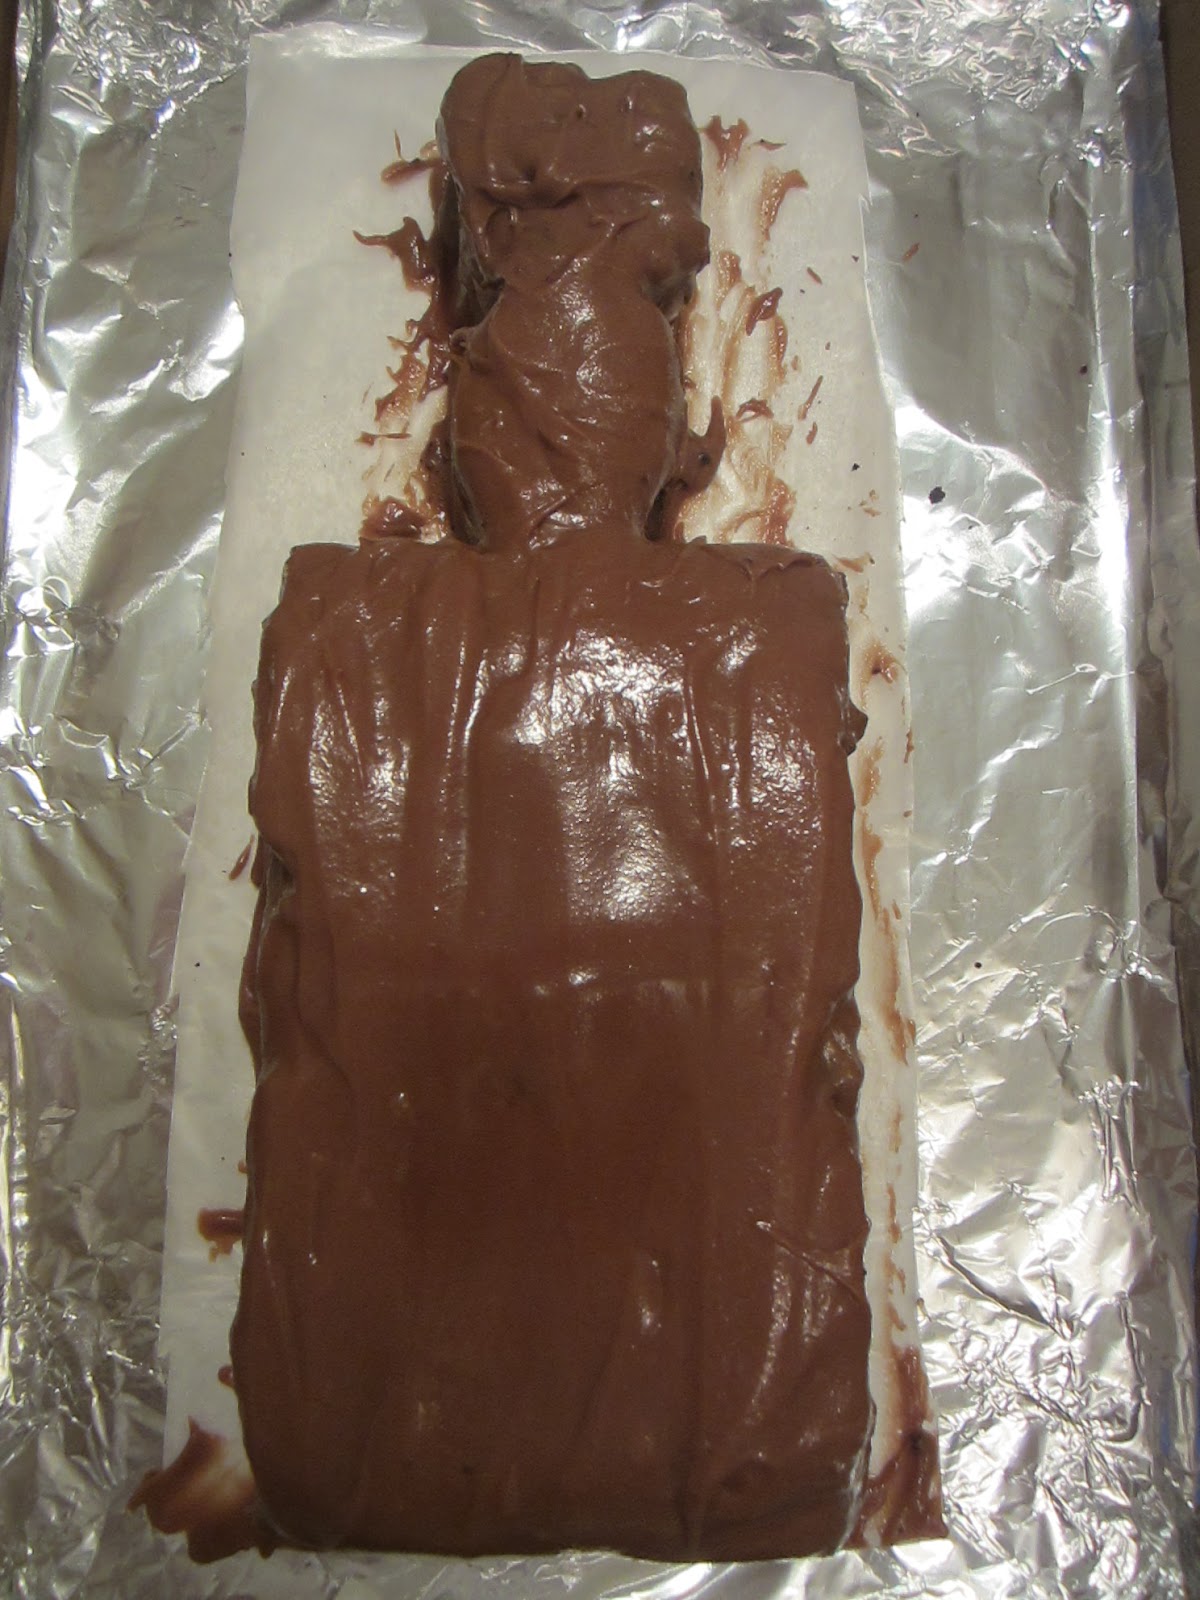
- Add in powdered sugar until you reach your desired consistency (1 cup was perfect for a glaze - I added 1 1/2 cups to the mixture and it was pretty much frosting instead of glaze as I wanted as in the picture
- Let it sit for 30 minutes to thicken and turn into the brilliant amber colour that looks like proper JD
 - Spoon the glaze over the whole cake, going over it a few times


Label

There are various ways of removing a label from a bottle but many of these would not have worked for me as the bottle was not empty. I put the JD in a bowl of water with around 1 tbsp (not specifically measured) of baking soda/bicarbonate soda for about 40 minutes and I could peel it off easy enough. This doesn't help for getting the sticky residue off but I didn't have time to remove it all. You just need the picture anyhow!

Place the label in the appropriate place on the bottle. It should stay easily due to the glaze/frosting.


For the lid I used a cut out square from the label off the back of the bottle.


Stupidly I left my camera at Bailey's house ready for her party so some of the photos were taken with my little camera - apologies for the low quality.

Friday, 22 June 2012

Travel Wallet and Luggage Tag

It was my friend Lucy's 21st last week and so I made her a little something I've had pinned for a while. I want to make one for myself because they are awesome and it was fairly easy and quick. The tutorial can be found here.


I did two holders instead of the three in the tutorial as I think that I would only use one for a passport and one for a ticket - I didn't think what else could be put in there as most things would be in a wallet.


I would have liked to put on a different colour button but this was all I had.


For the luggage tag I just used some plastic cut from a plastic folder, simple!


Saturday, 16 June 2012

Jubilee Shirt

I realise this is a little late but I did start on this shirt on the Jubilee weekend - better late than never! I used Simplicity Pattern 2599 (C). 


It was much harder than anticipated and I have since decided I think I prefer creating from online tutorials than patterns, although I will try again. The Jubilee theme is obviously reflected in the colour scheme. Initally this was going to be a mock up before I made a shirt with my good fabric but I do quite like the colour scheme and the way it turned out so will probably wear it after all. I did of course make a few mistakes, mainly due to my haste to get it finished, the biggest of which is that the flounces are not very straight and a little off centre. You can't tell so much but it has to be quite strictly ironed for them to stay in place as a consequence so I may stitch them down. Other than that, (apart from the various "help me" emails and skype chats with Wendy - thank you!), I managed fine. I did have to undo a few things and redo them but nothing major. I did shortcut a step in that instead of hemming the flounces, something incredibly difficult on a curve, I just left it as the material wasn't particularly fray-ey and it was only really a mock up. It worked fine as you can see below.

Wednesday, 13 June 2012

First unassisted dress!

I apologise for the lack of posting. Exams are now over and I did think I'd have a few things up by now but all the other things I'd been putting off until after exams got in the way. I did spend a lot of time circling fabric shops and looking at patterns and ended up buying my first pattern - a summer shirt with flounces from Simplicity. I picked it because it looked easy. What did I know.. I started it last week and am still working hard on it, having emailed and skyped Faron's mum Wendy may times about things I don't understand. I was quite eager to get something up on the blog as it has been too long now so I gave the shirt a rest for now and started a dress I have been saving for a while now on Pinterest. It's a super easy tutorial for "the most flattering shirt dress" from Prudent Baby. If you have never made clothes before this is a great place to start (as I did!). A lot of the dresses I have and love are this shape so I wanted to make it in this lovely fabric I got in Spain last summer.


I did have a few problems, which were to be expected. I cut the neck far too low and obviously couldn't go back so ended up sewing the V neck together at the bottom. It was also very puffy under the arms and above the waistline and not really flattering so like in the tutorial I sewed a diagonal line from the waistband to the bottom of the armhole.. many lines.. to fit! I think my armholes also were too big but I know for next time. I really liked using the bias tape for the armhole and neckhole finishing, something new for me.


It's very light material so great for summer. I am looking forward to wearing it.


Hopefully my shirt will be up soon and another dress I have been working on/finished, but did wrong and have to unpick.. a lot!

Tuesday, 8 May 2012

Terry's Chocolate Orange Cake

I have not been nearly as creative as I would like to be recently as it is exam period. Luckily (or unluckily as there is less time to stuff information into my head) I finish June 1st so I am looking forward to a long month of creating then. Until that date, I thought I'd show off my birthday cake that Faron made for me. It's my 21st tomorrow and I had a party last Friday where I was surprised with a Terry's Chocolate Orange birthday cake! If it wasn't obvious I LOVE Terry's chocolate orange..


He made the cake his usual way - weighing the eggs then adding that weight of sugar, flour and butter, and a tablespoon of cocoa. (At this point I would have added orange zest in the mix - he didn't want it to be too orangey but after tasting that would have worked well). Between the layers of cake he made a delicious filling: 

100g dark chocolate
Knob of butter 
2 tablespoons marmalade

He made a bain-marie with the chocolate and butter then stirred in 2 tablespoons of orange marmalade. He topped the cake with Terry's chocolate orange slices and chocolate orange buttons. It was beautiful and delicious, and went within 10 minutes!

Next post will be in June when my exams are finally over :)

Saturday, 28 April 2012

Cherry Tomato and Sweet Chilli Jam (with cheese sables!)

While at Faron's house over the holiday I had a lot of this amazing cherry tomato and sweet chilli jam his mum Wendy made with EVERYTHING. When I got home I was delighted to find my mum had also made it! Before I left I made a batch for myself to take back to uni as it was so delicious and my chef of a mum whipped up some amazing cheesy biscuits to go with it. It's a match made in heaven. 


Check out the recipe for the jam here (from the delicious magazine that both mums and my nan subscribe to). The recipe for the "cheese sables"/biscuits is also from the magazine! They are almost like savoury shortbread. I hugely recommend both of these recipes! Together they would be a great gift.

Sunday, 15 April 2012

Italian Travels

Faron and I had a wonderful road trip from Luxembourg to Rimini, with Basel, Como, Lake Garda and Verona in between. We ate in abundance of all the good Italian things and drank in abundance of coffee and a drink that's really grown on me; aperol spritz.

As promised here is a showcase of my best pictures from Italy. Like Helter Skelter, all can be purchased on my etsy shop (as well as two from Italy a year or so back).


Thursday, 12 April 2012

New Fabric and First Dress!

Faron's mum Wendy is an experienced and highly talented knitter and seamstress (and I'm just waiting for her to start her own blog!) This year she has a resolution to make all her clothes (apart from the obvious like sports wear). While I was in Luxembourg we went to a huge fabric fair and I learnt/was taught how to use patterns, and made my first dress!

The fabric fair was amazing. In the past I have bought fabric online or in a shop in Brighton and compared to the fair there really isn't much choice. As I am not very experienced I don't know where to look or what to look for. I really recommend going to a fabric fair if you are an amateur (or even if you're not) as you can touch and feel all you want and really browse around until you find something perfect. 

In the end I bought 6 different fabrics, most with an intended use, which is more than I can say for my other fabrics!

The plain grey linen will hopefully in time become a summer shirt. The colourful patterned cotton is destined for some sort of bag or craft. The red doll fabric is actually oilcloth which I am quite excited about using in a bag or cosmetic bag, although I am regretting not getting another matching oilcloth as they had some really nice green and pink ones in polka dot/same pattern that matched perfectly. I hope to turn the light grey striped fabric in the middle into pyjama pants, and the orange/white circled fabric is intended for this shirt. Finally the beautiful grey fabric with the flowers is intended for a simple skirt with an elasticated waistband - I just have to find the perfect pattern!

The four rolled up fabrics at the bottom were kindly given to me by Wendy as she has no more use for them. I have no intended use for them at the moment but they are lovely!

The beautiful silk below that was half price (!!) will hopefully be a maxi-dress, but I don't trust myself to make it alone so I am waiting until I am back in Luxembourg with some knowledgeable eyes to oversee.


The dress I made was from a pattern given to me by Wendy. We made it with some of her leftover fabric for a practice dress but it's it's quite nice in this fabric with a belt, almost farmer-esque :) I do plan to make the dress again in a different fabric. 


Pictures from the Italy trip will follow shortly!

Wednesday, 11 April 2012

Sweet and Salty Roasted Chickpeas

I have really failed on my New Year's resolution now. With all the work before the end of term then a four week break in which I was away the whole time.. I haven't posted anything for.. weeks! During the break I was in Luxembourg, Switzerland and Italy. Pictures will be coming soon from Italy as it was my first holiday with my new camera and I was very snap-happy.

I made this snack last term and it was very nice. Unfortunately I didn't have cinnamon and instead used ginger, but t worked too. I definitely want to try it with cinnamon too though as that's one my favourite flavours.


Friday, 2 March 2012

Gryffindor Scarf

One of my new year's resolutions was to post every week and I was managing well until two weeks ago. I'm now in the last two weeks at term and it's super busy so I just haven't had the time to post. Now though, this evening between spending 9-5 at uni and before my weekend away in Stoke for Women's Ultimate Frisbee Nationals (wish us luck!) I can write my next post.

My housemate Sarah is a Harry Potter fanatic. She's from California but studies here and I secretly think it's because she wanted to be closer to the wizarding world. It was her birthday in January and I had mused over getting her various HP themed items like this or this but I really wanted to do something homemade. She had a burgundy/yellow Gryffindor hat that she wore all the time until she lost it so I decided (before she lost it) to knit her a matching scarf. Unfortunately it took a lot longer than expected so wasn't ready for her birthday but I showed it to her and took a long time to finish it.. finally it is done!


I am not a very experienced knitter, this is only my second post about knitting and I have only really successfully knitted hats and scarfs but I do like it. I need to do more.. trouble is I don't have a whole lot of time and I feel like knitting is really good if you're sat in front of the TV or on a bus - I do not have a TV and I ride my bike.. so I struggle for time. But I will try better from now!
She's happy with it and so is Hedwig the travelling owl.