Pages

Thursday, 17 January 2013

Stashbusting Sewalong 2013

I am joining the Stashbusting Sewalong 2013 organized by Cation Designs and EmSewCrazy. The idea is that instead of buying new fabric you use the fabric and scraps you already have. Because I have been so rubbish at sewing this past year this is a really great opporunity to be pushed into using my fabric and actually making things again. I have pledged to use at least 12 different pieces of my stash fabric to make 12 different creations by the end of the year. Mine will be a mixture of clothes and other things. If I can use more than 12 pieces of fabric that would be awesome! I will post everything I make here and also on the Flickr group dedicated to the Sewalong. There are themes for each month so I will be following these the best I can:

"January: Itty Bits! Sew up those remnants left over from another project, use up some of those tiny scraps that you've been saving...as long as it's less than a yard of fabric, it counts! February: THE LOVE CHALLENGE. March: Impending Seasonal Change. Regardless of your hemispherical location, the weather will be changing soon...what will you make? Something fun for the coming spring, or something cozy for fall? April: THE VIBRANT COLOR CHALLENGE. May: THE KNIT CHALLENGE. June: Containment! Get ready for those long car trips, summer outings or some good old fashioned cleaning and organizing! We're thinking bags, boxes, totes, purses, pouches, you name it; this month is all about making things to put other things in."

I need to decide what to do with my stash fabric so here are my potential ideas for the first six months! 
I would like to make one or all of these things but one a month will probably be the limit!

January: Itty Bits!
Heatpacks in any of these fabrics:

Pocket warmers in my Cath Kidston samples (ironed!), perfect size!:

Ruffle diaper covers (for a friend who is pregnant!) in one or both of these fabrics:

February: The Love Challenge
A bow tie for my little 5 year old Valentine who lives in New Zealand in some cool truck fabric as below. 

March: Impending Seasonal change
A skirt for myself ready for summer. I made this skirt for Bailey as you can see in this post and it worked out so well I was going to make one for myself. I haven't yet, clearly, so am planning on making it in this fabric - it's a really nice dark royal blue and has a great weight to it for a skirt. I wear a lot of blue so hopefully it will be a versatile item in my wardrobe.

A sorbetto top like I did before in this below fabric that I initially bought for pyjama pants (and now do not need anymore!)

April: The vibrant colour challenge
Something in this awesome vibrant oil cloth. I don't yet know how to sew with oil cloth so this is my aim for April.

May: The knit challenge

As I have exams in May I may skip this one, especially as I have no leftover stash wool. Maybe I will go my own way with it instead though. Stay tuned.

June: Containment!
Sewing machine cozy in this fabric:

Fabric basket in these fabrics:

As you can now see from the right side of my blog in the panel, I am also doing the No New Clothes Challenge. For 6 months I cannot buy any new clothes and have no upcycle at least one thing I already have in my wardrobe to make it wearable again. I feel like these two challenges tie in nicely with eachother! I'm looking forward to keeping up with my sewing this year!

Tuesday, 15 January 2013

Fried Goats Cheese

The minute I saw the post on Fried Goats Cheese on Rachel Schultz, I had to make it. Within the hour I had organized my dad to bring back the cheese and had the breadcrumbs all ready. Instead of the soft goats cheese I wanted to try it with the melty-stuff but he couldn't find any so we ended up with rounds of goats cheese like this:


I didn't have any parsley so I replaced that with sage, and I didn't use flour - my modified recipe is below.

Fried Goats Cheese
Serves 4
4 rounds goat cheese
1 cup breadcrumbs
1.5 tsp sage
1.5 tsp thyme
1.5 tsp garlic powder
1 egg
Salt & pepper
Olive oil

Mix breadcrumbs, sage, thyme, garlic powder and S&P in a bowl. Crack the egg in a separate bowl and whisk. Dip the round of goats cheese in the egg, fully covering it, then dip in the breadcrumbs, pushing down on the mix to cover it completely.


Put a layer of olive oil in a pan and get to medium high/high depending on how thick your goats cheese is. Cook for 1-2 mins on each side (again, depending on thickness of cheese). Mine took two minutes on each side on a medium high heat.


Remove when golden brown. Great served with salad topped with olive oil and good quality balsamic vinegar. Delicious!!
 

Tuesday, 8 January 2013

White and Dark Chocolate Cheesecake

A friend of mine I lived with in first year is a great cook and has a particular specialty of cheesecake. Every time we have dinner together he brings a cheesecake, and usually it's White and Dark Chocolate Cheesecake after I request it! This cheesecake is so incredible and not too sweet.. you will never love cheesecake so much.

I decided to make it for Boxing day as we had some people coming over. It's super easy to do and doesn't even need an oven. It disappeared very fast!

Base
300g digestive biscuits crushed
75g unsalted butter
3 tablespoons of cocoa powder

Grease a loose bottomed 8 inch cake tin with butter.
Melt the butter in a saucepan and add the biscuit crumbs and the cocoa. Stir the mixture and press into the cake tin. Place in the fridge whilst making the filling.

Filling
300g white chocolate
300g cream cheese
Roughly 280ml sour cream or crème fraiche
6 tablespoons of icing sugar

Melt the white chocolate in a bowl set over a pan of simmering water. Beat together the cream cheese, sour cream and icing sugar until smooth. Add the white chocolate and beat again until smooth. Pour the filling over the base and allow to chill for at least 4 hours, ideally overnight.

I garnished with mistletoe for that festive look!


Also, I now have labels on my blog (check the right side!). So if you're looking for just cooking or just sewing, you can find them all easily!

Friday, 4 January 2013

DIY: Glasses from Bottles

Happy New Year! I hope everyone had wonderful holidays. I don't have a resolution as such but I do want to keep my blog up better than last year - I simply did not have the time with my university work. The first half of this year is my last term as a law undergraduate so it's going to get very busy and important but I want to keep more time to craft. A lot of my more recent posts have been cooking or baking so I want to incorporate more craft and sewing in my blog this year - I have neglected my sewing machine due to lack of time for too long!

Something I have wanted to try out for so long is turning wine bottles into beautiful green glasses. I have seen them in a lot of places but this picture from pinterest made me particularly keen. I love the indented glass base in these.


via liveinart

Bailey *borrowed* acetone from work and we went on a mission to find perfect bottles. On our first try we used some beer bottles we didn't want as glasses as a practice, and then did a few wine bottles with our new found skills. On our first attempt out of 7 bottles, we managed to make 2 glasses (one beer, one wine) that were usable. The rest splintered or cracked. It's a bit of a process but we got the hang of it and our odds got better the second day we did it.


We struck gold and found some heineken bottles with the "label" almost painted on like on Corona bottles. These just happened to be the perfect thickness and we had a 99% success rate with these and quickly knocked up 16. We didn't have huge successes with the wine bottles. The below pictures are from our first couple of days with other beer bottles and wine bottles.


There are many tutorials out there, but we mainly followed this one from The Thrillz of Hillz.

Acetone/nail polish remover
Yarn (we used polycotton blend)
Lighter
Large bucket with cold water (and ice)

Tie your yarn around the bottle then encircle 3-5 times depending on the thickness of the bottle. Generally we used 3 times around for the beer and 4 or 5 for wine.


Soak the yarn in acetone. Instead of having to remove it from the bottle like in the tutorial we used the little bottles and poured it around the yarn. It used a lot less acetone, was quicker and easier and gave the same result.


Hold the bottle sideways over the sink/bucket and quickly light the yarn. Rotate the bottle with your hands until the flame burns out.


Immediately plunge the bottle head first into the cold water. It should crack and fall off. If it cracks but doesn't fall off shake it a bit or tap it with a wooden spoon for more stubborn bottles. Quite often we managed to get two cuts - one above and one below the string. We're not sure why!


Using heavy duty sandpaper sand down the rim of the bottles inside and out. Careful not to wrap the sandpaper around the rim as you will scratch the top of your glass. Below is one of our successful wine bottle glasses.


A few of the bottles split with a strange point in the middle. I just sanded it down so was no longer spiky and I quite like it like this!


I am now the proud owner of a set of 8 Heineken water glasses! All I have to do is finish sanding down the rims. Next I want to do some Corona ones.


Sunday, 30 December 2012

Christmas Eve

For the second year running I decided to make the Christmas Eve meal. After much deliberation I decided on the below menu and it was mostly very successful. 

Starter
Cappesante in Salsa di Zafferano {Sea Scallops in Saffron Cream Sauce}

Main

Special Salmon en Croute

Dessert

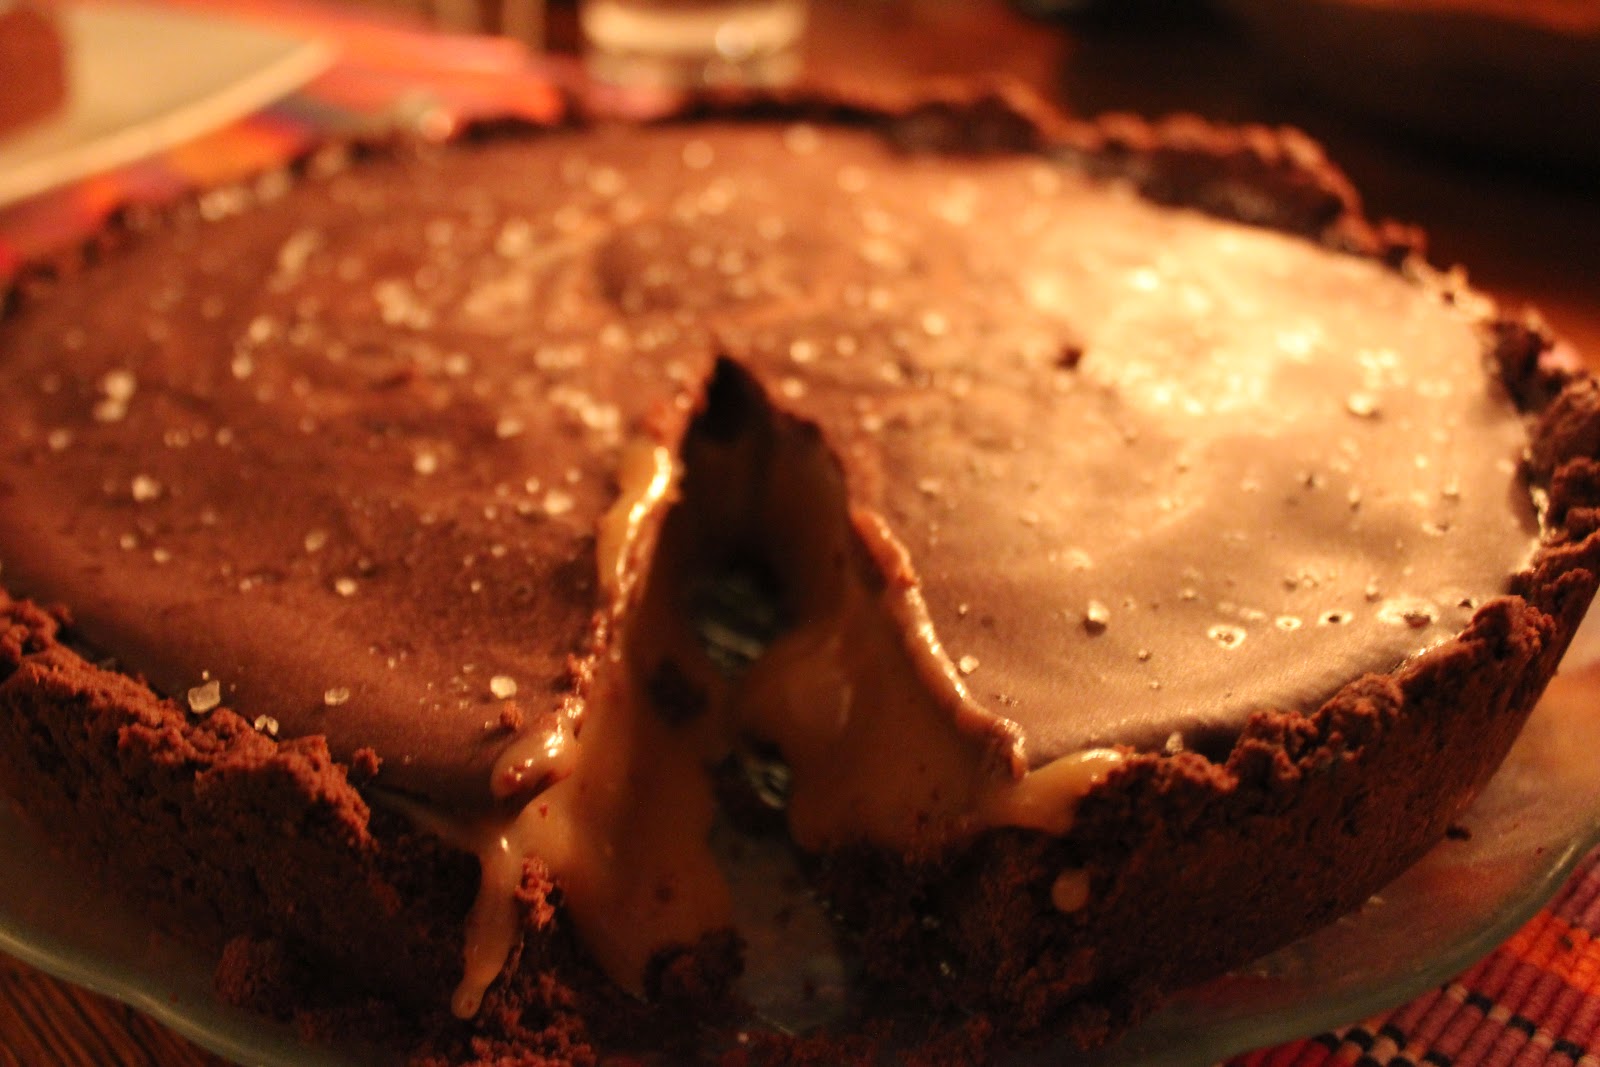
Salted Caramel Chocolate Ganache Torte

I was pleased with all of them but less so with the starter, although I think this was mostly because of the sheer number [for seven people] I had to cook at once and I was in a hurry to get the food on the table so rushed the sauce a little, so it was a bit runny.

The starter was found on Pinterest. I found there to be too much butter and oil for the scallops to cook in. I did double the whole recipe but used two large pans and the scallops were still practically swimming. Next time I'd use half the amount of butter, so I've modified the original recipe below.
Cappesante in Salsa di Zafferano
3 tablespoons unsalted butter 
2 tablespoons extra virgin olive oil
12 large sea scallops – patted dry
1 cup dry white wine
1 tablespoon heavy whipping cream
pinch of saffron threads

Into a nonstick pan, melt 1 tablespoon butter and olive oil. Season scallops with salt and place 

that side down in the pan when hot. Season tops with salt and sear well on both sides. Careful to turn only once {you don’t want scallops to tear} Remove scallops from pan and keep warm in an oven but make sure to keep some juices with them so they don't dry out.
Add wine to hot pan and deglaze pan. Reduce temperature to medium – low and allow wine to reduce by half. Add cream, remaining butter and allow to combine. Once butter has combined, add saffron threads. Stir well to combine.
Return scallops to pan. Turn to coat. Serve immediately.

Unfortunately I was so rushed I totally forgot to take a picture. There are good pictures on the original link though!
The main was recommended to me by Bailey, and what a good recommendation. I'm not sure where the original recipe is from but below is my modified version. Bailey's version was to make separate salmon bundles but I did one big one. Bailey's version was meant to serve 4 people but mine served 6 easily in addition to a side of green beans, and leftovers!


Special Salmon en Croute10 fresh asparagus spears
4 hard-cooked eggs, lightly mashed
2 tablespoons red onion, diced
3 tablespoons chopped fresh dill, divided
250g Philpadelphia Cream Cheese, divided
1 tablespoon mayonnaise
1 teaspoon Dijon mustard
Salt and pepper to taste
2 pre-rolled circular puff pastry sheet
4 large fillets salmon, skin removed
1 egg, for egg wash
Zest of 1 lemon
4 tablespoons fresh lemon juice

Preheat oven to 400F/200C degrees. Cover a baking sheet with parchment paper.

Blanch asparagus spears in boiling water for 3 minutes; drain and submerge in ice water to stop the cooking. Drain, then pat dry and cut into 1/4-inch pieces and place in a medium glass bowl.

Mix in eggs, red onion, 2 Tbsp. dill, 1/2 the cream cheese (62 g), mayonnaise, mustard, salt and pepper. Set aside.


Place two fillets along the middle of each pastry piece. Season with salt and pepper. Top with egg mixture.


Fold sides of pastry over salmon . Brush with egg wash. Place on prepared baking sheet.

Bake for 15 minutes. Reduce oven temperature to 325F/160C degrees and bake for 15 minutes more or until pastry is flaky and golden brown. Let stand 5 minutes before serving.


Meanwhile, bring lemon zest, lemon juice and remaining dill to a simmer. Add remaining cream cheese and cook until melted, stirring constantly with whisk. 

Cut the Salmon en croute into slices and serve with a spoonful of lemony cream on the top.


The dessert was also found via Pinterest on Fifteen Spatulas. I barely changed anything in this recipe, it was perfect. I did make a small mistake at the beginning by combining everything at the same time instead of according to the directions but it turned out great and was much easier, so will modify it accordingly. Caution: cut small slices! It is incredibly sweet.


Salted Caramel Chocolate Ganache Torte
Cookie Crust
1.5 c all purpose flour
1/2 c cocoa powder
1/4 tsp salt
1/2 c + 2 tbsp butter (room temp)
1/2 c icing/powder sugar
2 egg yolks
1/2 tsp vanilla
Salted Caramel
2.25 c sugar
3/4 c light corn syrup or 1 tbsp corn flour mixed with water
1/2 tsp salt
6 tbsp butter (room temp)
1.5 c heavy/double cream
1.5 tsp vanilla extract
Chocolate Ganache
115g bittersweet chocolate
1/2 c heavy/double cream
Coarse sea salt for garnish

Preheat the oven to 350F/175C degrees. 
Combine the flour, cocoa powder, salt, butter, powder sugar, egg yolks and vanilla until the dough is crumbly but moist enough to come together when pinched between your fingers.
Press the dough into your tart pan, prick all over with a fork and place in the freezer for 10 minutes. Bake for 15 minutes then let cool completely.
For the caramel, place the sugar, corn syrup and salt in a heavy bottomed saucepan over a medium heat. Stir initially then don't stir until the mix turns clear, starts bubbling and takes on a caramel colour.  Stir in the butter (careful of spluttering!) and remove the pan from the heat. Add the double cream and vanilla. Pour the caramel into the crust and refrigerate until set (about 3 hours).
For the chocolate ganache, heat the cream to a simmer then put the chocolate in. Let it sit for 60 secs then stir it until smooth. Pour the ganache over the caramel and refrigerate until set.
Garnish with sea salt.


Thursday, 27 December 2012

Christmas Bread

I hope you all had a wonderful Christmas. This year I made the now-traditional Christmas bread. I did post about it before but modified the recipe this year and [I think] definitely improved it, so will note the changes here!

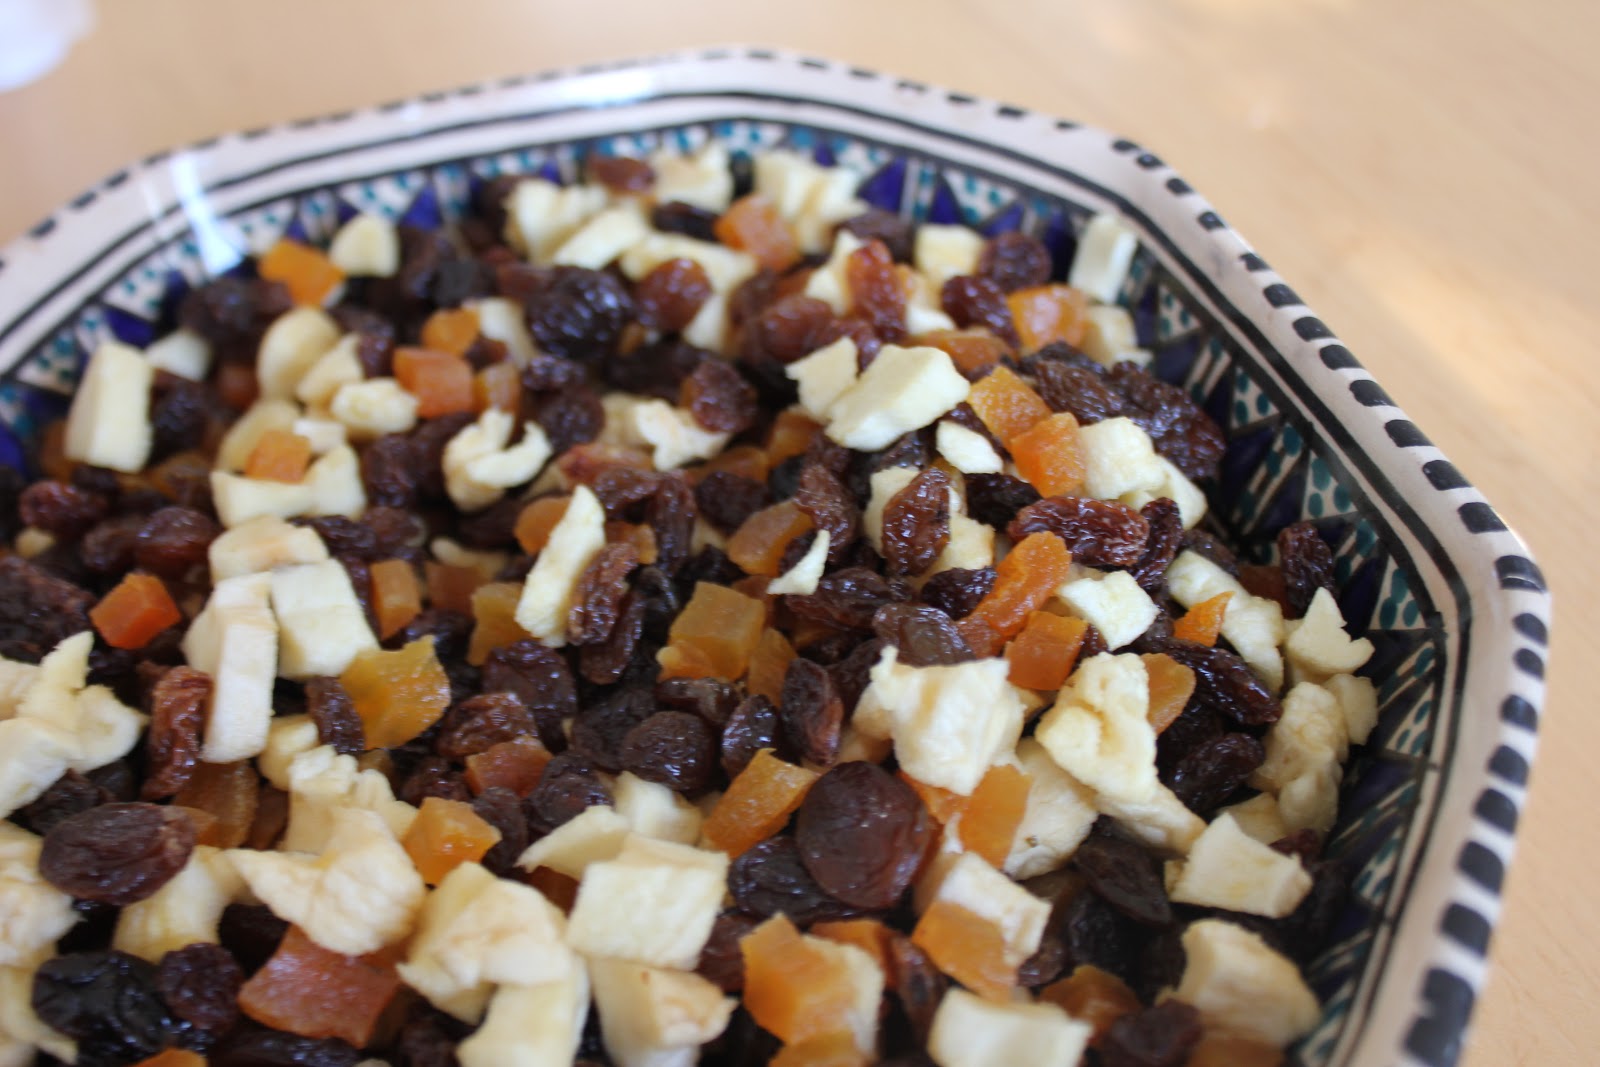
Christmas bread 75g raisins 50g raisins
125g sultanas 75g sultanas
50g dried apple, roughly chopped 100g dried apple and apricot, finely chopped
2-3 tbsp apple brandy  2 tbsp normal brandy and 1 tbsp prune liquor
500g strong white flour
150ml warm milk
100g butter, softened
100g golden caster sugar
2 medium eggs
7g dried yeast
1 tsp salt
1 tsp ground allspice 2 tsp ground allspice
1 tsp ground cinnamon 3 tsp ground cinnamon
1 tsp ground ginger
1 tsp vanilla extract 2 tsp vanilla extract
60g hazelnuts, roughly chopped 40g ground hazelnuts 
2 tsp mixed peel 1 tsp mixed candied peel
Zest ½ orange   zest of 1 orange
squeezed juice from 1/2 orange

Please see the link for the directions. The only difference was that I left the mixture to rise overnight for the second time and the finishes bread was much less stodgy than last year.


Monday, 17 December 2012

Apple Butter

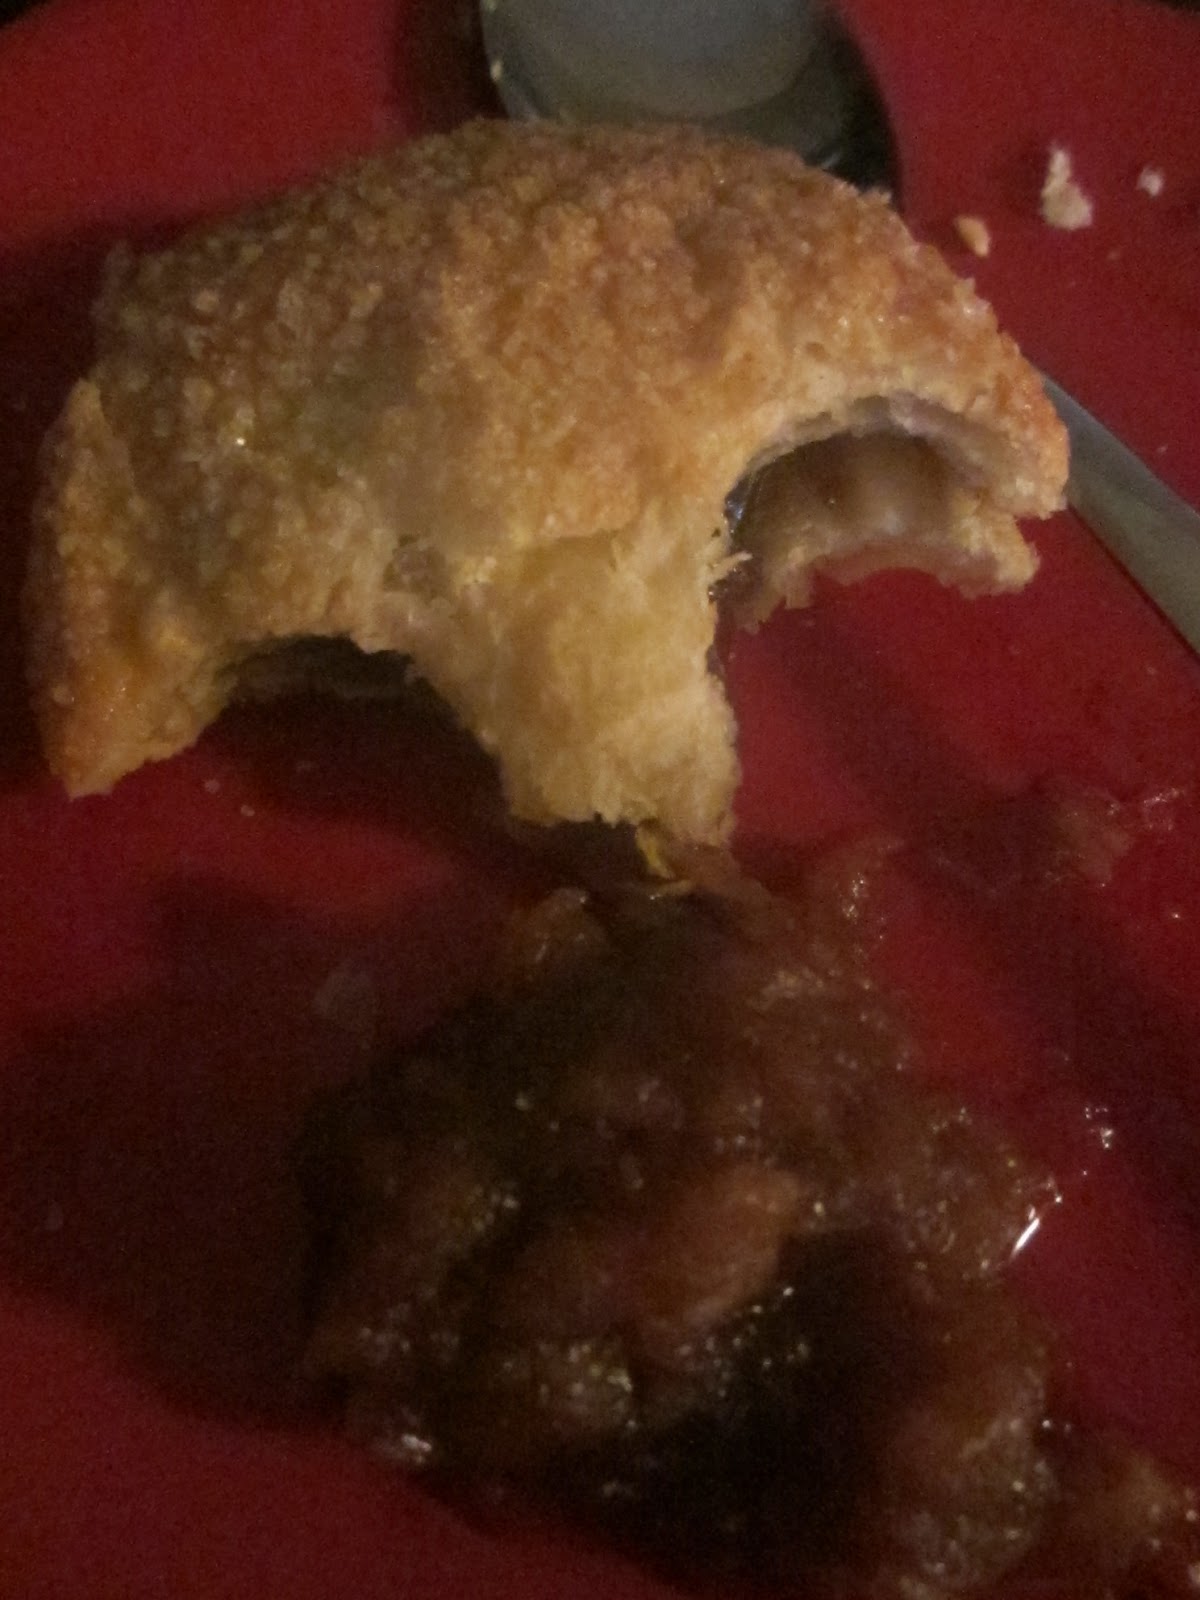
I have finally [successfully] have used my new/freecycled crockpot! I did try to make baked potato soup before but it failed miserably, mainly because I don't have a blender.. I decided to make some Apple Butter for a Christmas meal I was attending to go with some puff pastry mince pies. I modified the recipe a little by taking away some sugar and adding a bit more spice and it was very sweet and delicious. I also don't have a blender so I cooked for about 6 more hours (so 16 in total) and used a potato masher. It wasn't puree but close enough.

6 large apples
1/3 white sugar
1/3 brown sugar
1 tsp ground cinnamon
1/4 tsp allspice
1/4 tsp ground nutmeg


Place all ingredients in a slow cooker, mix well and cook on low/medium low for 14 hours. Blend or mash then cook on high for 1-2 hours. Jar when cool.


Wednesday, 31 October 2012

Cheddar Bacon Ranch Pull Apart Bread

I have been involved in a new society at University this year - The Sussex Foodies.  As it is new we've taken some time to get organized but last night had our first event and social which was a Pot Luck/Bring a Dish party. I trawled through the many recipes I have saved on Pinterest and decided to make Cheddar Bacon Ranch Pulls from Plain Chicken. I had to modify the recipe slightly as you can't get ranch dressing mix here in the UK I don't think, just dressing. I also added onion as I thought they would give a nice flavour. Everyone really loved it so I will certainly be making this again - perhaps with a bit more cheese and bacon next time!

1 round white loaf
4-6 rashers streaky bacon cut into bits
Half an onion cut into small bits
Half a block of Cheddar cheese sliced thinly
Ranch dressing

Cut the loaf across both ways stopping at the bottom so it's still held together.


Pour the dressing into all the gaps, then full with cheese, bacon and onion.


Wrap in tin foil and bake for 15 mins at 200C, then unwrap and bake for another 15 mins or until your bacon is cooked and your cheese is melted.


It doesn't look quite as good as the one in Plain Chicken but it tasted great. Because I had to take mine to event I brought it cold and had to microwave - it wasn't quite as good as it would have been fresh out of the oven but it certainly worked and I would do it again.

Tuesday, 25 September 2012

New Photos

Finally I am back in the UK and back at university. Over the summer I have been clicking away in both New Zealand and France and now have some new photos in my etsy store! I have been learning more about my camera and how exactly it works which helps me take better photos. My original prints in the post from Italy are also still for sale.

Here is a showcase of my new prints in my etsy store. If you would like any you can get a 20% discount if you message me mentioning this blog, or a 40% discount if you buy 3 or more.