As I had a strip of patterned fabric left over from Bailey's skirt I wanted to do something to match the skirt as an extra gift. I looked around mostly on Pinterest but Wendy found a cute little pouch tutorial on Mommy by Day Crafter by Night.
I made it smaller than the tutorial as I didn't see a use for such a long pouch although I did intend to make it a little bigger than it turned out. I still need to learn how to properly sew the ends of a zip! I rarely get it right.
Using Wendy's ultra-cool sewing machine I machine embroided Bailey's initials on the lining of the pouch.
I would say one thing to change if you are attempting the pouch yourself is to sew the bow into the circular mid section. Otherwise it is quite easy to pull your bow right out of the pouch.
Monday, 16 July 2012
Tuesday, 10 July 2012
Elasticated skirt
In June when I was still in the UK and had my sewing machine I decided to get working on a present for Bailey, who was my inspiration for all this creation as well as blogging. As I have mentioned in a previous blog post, she made me such a beautiful quilt for Christmas one year and I can't get over how wonderful it is. It was her 21st this July so I wanted to make her something nice with my improved sewing skills. I had some fabric that suited her perfectly but there wasn't that much. I was toying with the idea of a bag or purse but she has made them in the past probably better than I could have made. I found this tutorial and really wanted to try it out but I didn't have enough of the fabric I had saved for Bailey. So, I bought some red cotton that coordinated with it and it worked so well.
I followed the instructions mostly apart from the fact I sewed a strip of red cotton onto the end of my patterned fabric - both to make the skirt long enough and to add a little something to it. Even though it is risky making clothes for people with no measurements (otherwise it would have ruined the surprise!) I wasn't too worried as it was a elasticated waist so there was a big leeway - also I could have quite easily shortened the elastic or brought up the hem to fit after I gave it to her. I made a huge mistake at the beginning and started to cut the fabric in half before I realised I didn't want to, so it worked out okay in the end as I could cover the cut bit with the red.
I made another mistake when I wasn't following the instructions properly and made things difficult for myself - sewed up the ends to make the skirt before hemming or putting the elastic in! It wasn't a huge problem with the hemming (just a bit more fiddly) but I had to undo the stitching to get the elastic in, and redo it when I had done it.
As a pointer, once you have the elastic through you can safety pin one end to the other so you can try it on and amend as you like without the risk of you losing the end of elastic. I had to look at pictures of Bailey and I and decided we were about the same size so measured the skirt on myself to fit.
I also hemmed this skirt properly so there isn't an ugly fraying seam under the skirt. I'm learning new things all the time.
I love the way it turned out and she was delighted with the skirt. I'm definitely going to make one for myself! In my next post I'll show you the little matching something I gave her with the skirt.
Monday, 9 July 2012
Jack Daniels Cake Tutorial
Bailey's 21st birthday party was an explosion of great Southern American food. Everything was there; baked beans, corn on the cob, pulled pork, coleslaw, potatoes, and my favourite: ribs.
Last year for Bailey's birthday I made the esteemed rainbow cake (which I repeated for Faron's birthday - see here) so I wanted to make a tradition of it and attempt another great cake. Running with the theme of the night I looked up how to make cakes in the shape of ribs, corn, etc., but I didn't think I could quite pull it off (and the thought of eating something that looks like ribs but tastes like cake isn't the greatest thing in the world). Then I found it: Jack Daniels, the Southern American liqor. I also thought it was quite fitting due to it being her 21st; a boozy cake is highly necessary! After a bit of searching around I'd found some great Jack Daniels shaped cakes with no recipe/tutorial, or Jack Daniels recipes with no bottle shape. So here it is.. a Jack Daniels Cake Tutorial.
I got the recipe from the caked crusader and wow, what a great brilliant incredible recipe. This cake is seriously good, I'm warning you now. The glaze and the cake are magical together. I'll write out the recipe again and make a few modifications I found worked better or translations for UK audiences! As I made the cake into a Jack Daniels Bottle shape you will need a square cake pan not a bundt.
Cake
1 1/2 cups water
1/2 cup + 3 tablespoons Jack Daniel’s Whiskey
1 tablespoon instant coffee powder
1 1/4 cups unsalted butter (pretty much 250g stick with a bit left over for greasing the pan)
1 cup cocoa powder
2 cups sugar
2 eggs
2 cups plain flour
2 teaspoons baking powder
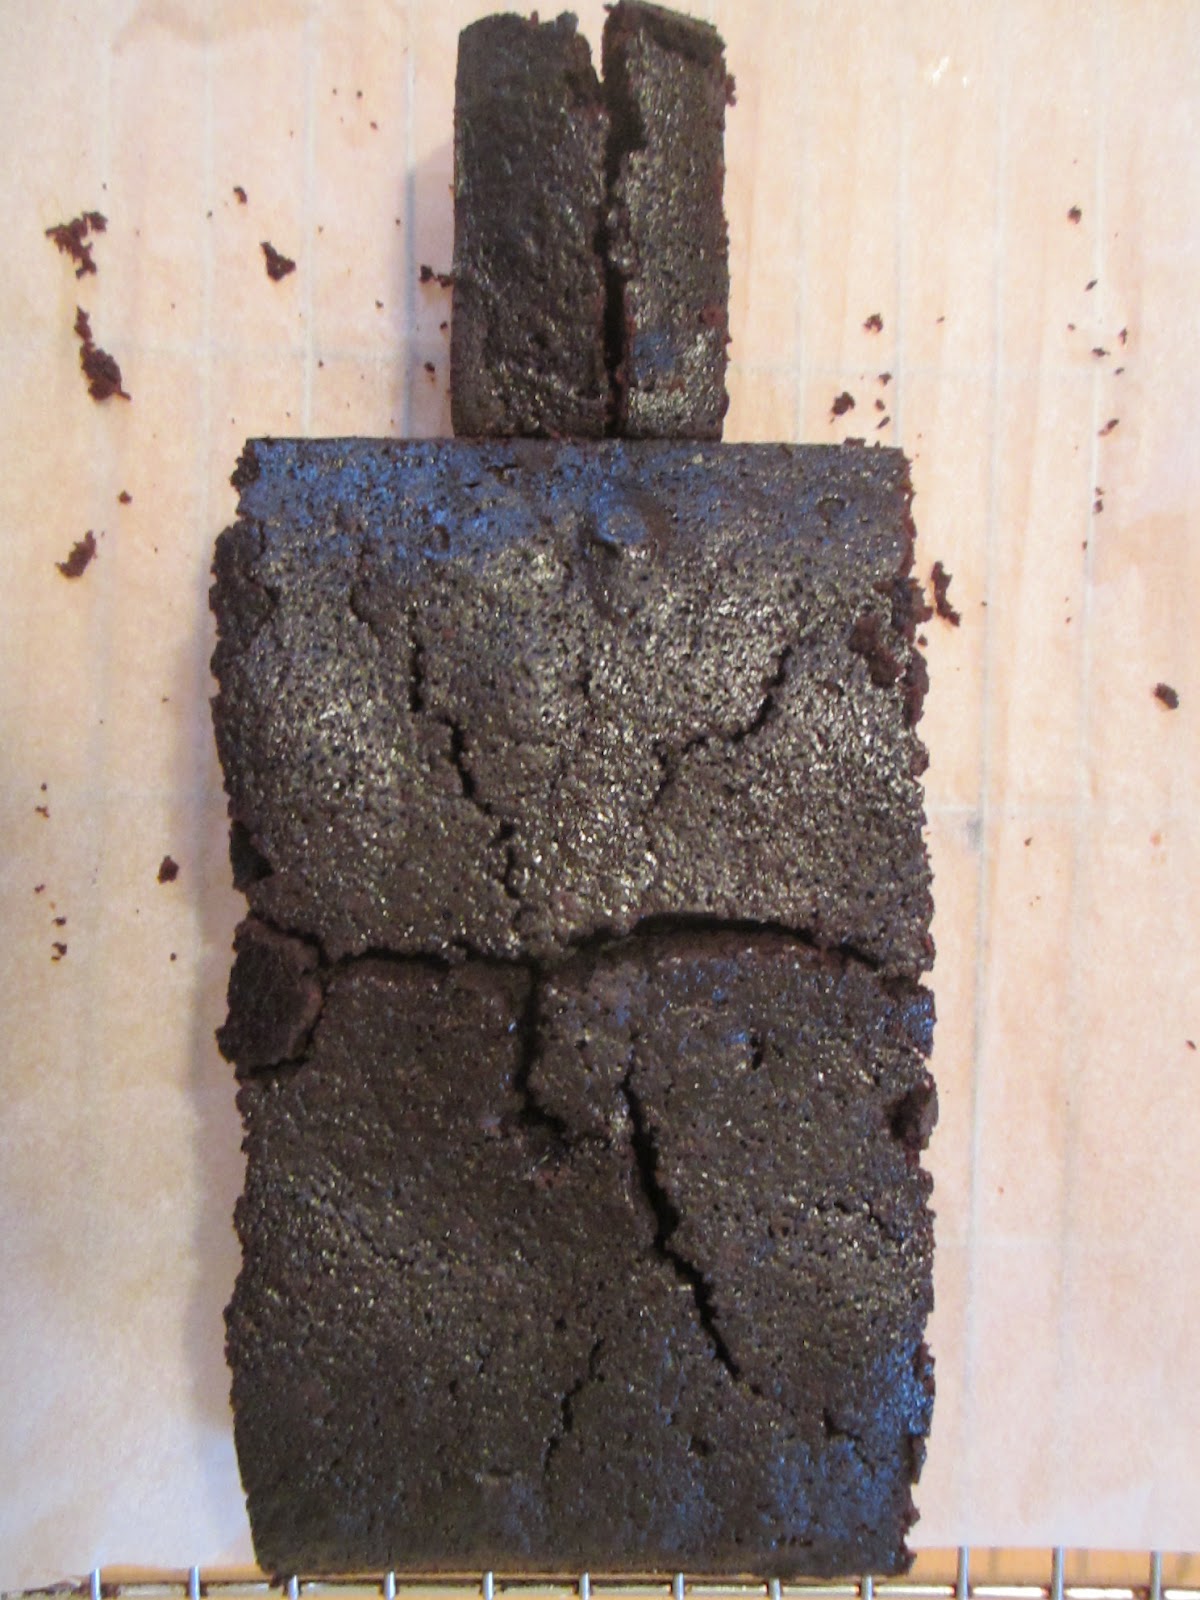
- Preheat oven to 325F/160C. Grease a 9x9 inch square cake pan, make sure to do this well otherwise this happens:
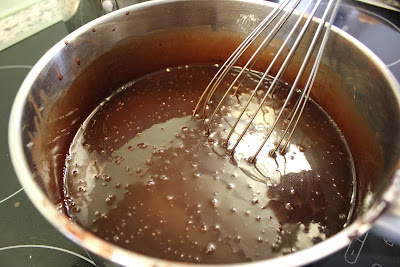
- In a large saucepan heat and stir water, whiskey, coffee powder, butter and cocoa until butter melts.
- Remove from heat and beat in sugar
- Cool slightly and whisk in eggs, blending thoroughly
- In a bowl stir together flour and baking powder
- Beat into chocolate mixture until incorporated
- Turn batter into cake pan
- Bake for 60-75 minutes, until a knife comes out clean
- Immediately sprinkle warm cake with 2 tablespoons of whiskey
- Let the cake cool completely on a wire rack (If you remove it too early the bottom will be extremely soggy)
- Once cooled, turn onto serving dish and sprinkle the top with remaining 1 tablespoon of whiskey
Shape
Once cooled you can cut your cake into shape. Start by cutting two sides off to form the body of the bottle.
Next cut off about 1/3 of the bottom of the sides you just cut off and cut them both in half lengthways.
This will form your bottle neck in a good rounded shape where the cake rose in the middle while baking.
Glaze
1 1/2 ounces dark cooking chocolate
1/4 cup unsalted butter
1 cups powdered sugar
3 tablespoons demi-creme/half fat cream/half-and-half
2 tablespoons Jack Daniel’s (depending on if you want to taste the whiskey or not)
1/2 teaspoon vanilla extract
- Melt chocolate and butter in a double boiler/bain-marie then remove from heat
- Add cream, whiskey and vanilla extract to chocolate mixture
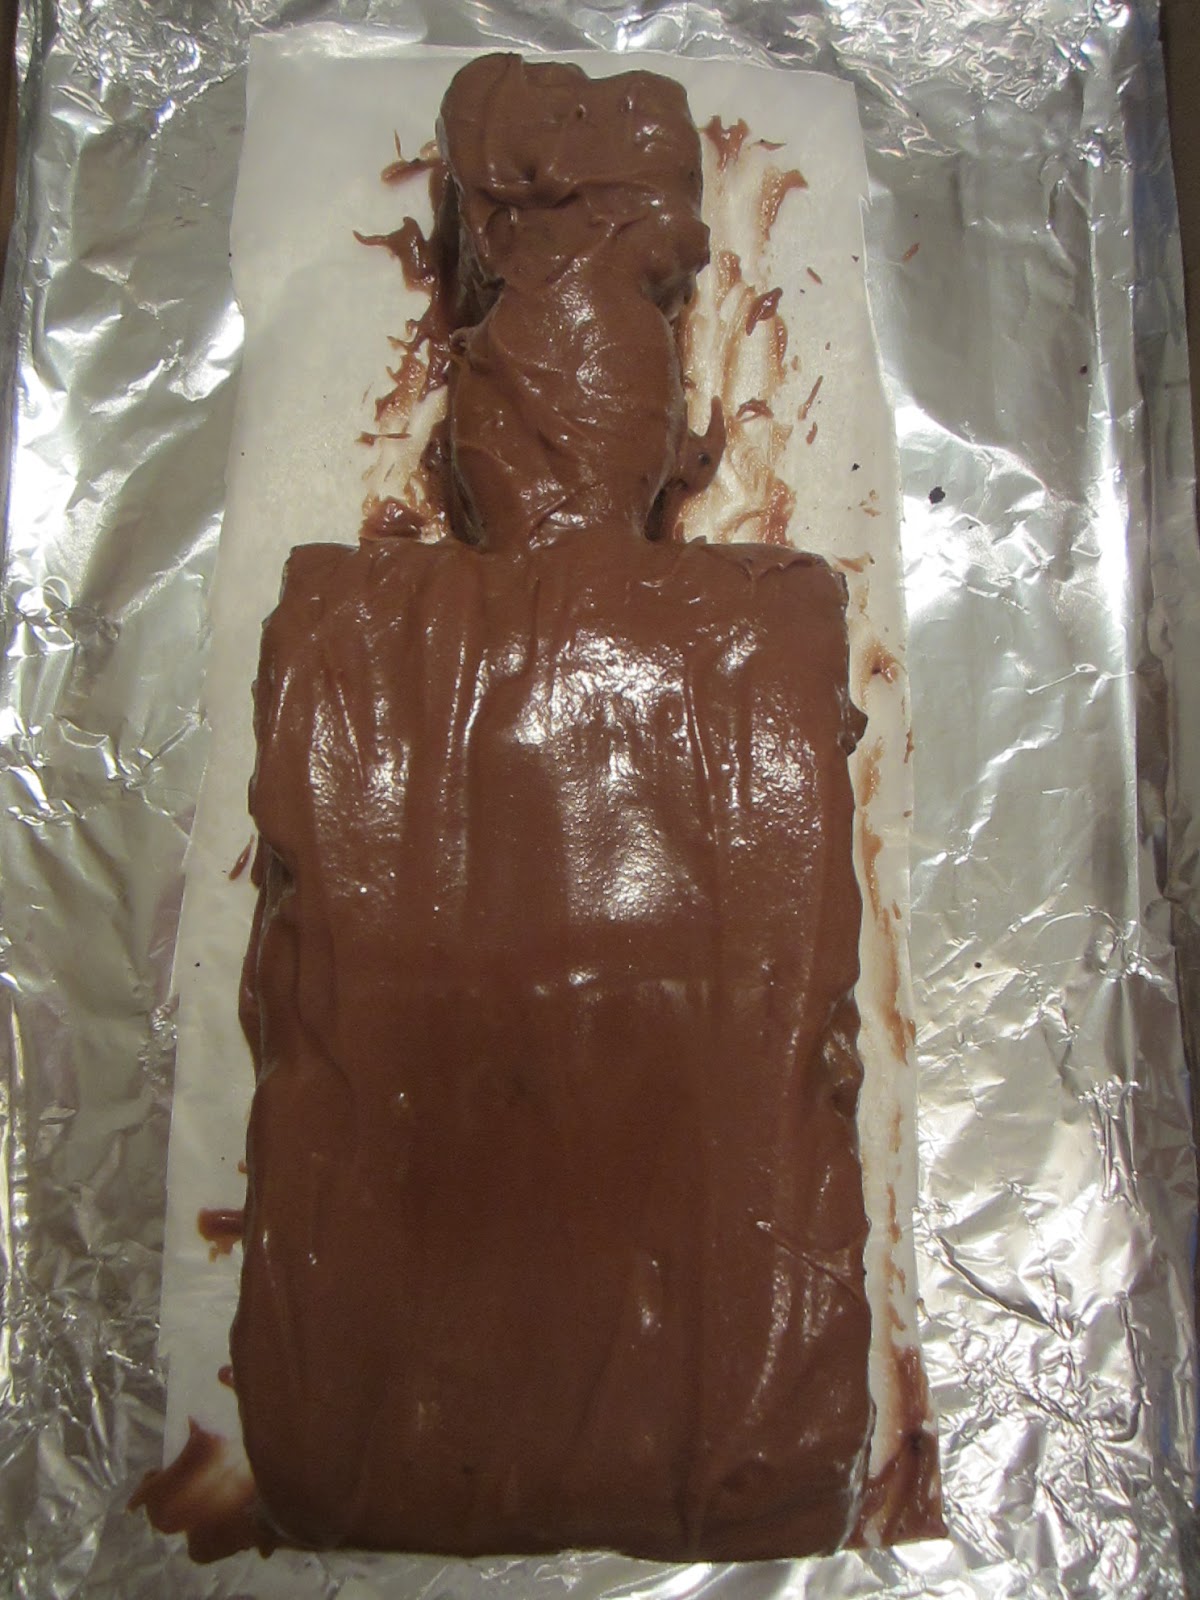
- Add in powdered sugar until you reach your desired consistency (1 cup was perfect for a glaze - I added 1 1/2 cups to the mixture and it was pretty much frosting instead of glaze as I wanted as in the picture
- Let it sit for 30 minutes to thicken and turn into the brilliant amber colour that looks like proper JD
- Spoon the glaze over the whole cake, going over it a few times
Label
There are various ways of removing a label from a bottle but many of these would not have worked for me as the bottle was not empty. I put the JD in a bowl of water with around 1 tbsp (not specifically measured) of baking soda/bicarbonate soda for about 40 minutes and I could peel it off easy enough. This doesn't help for getting the sticky residue off but I didn't have time to remove it all. You just need the picture anyhow!
Place the label in the appropriate place on the bottle. It should stay easily due to the glaze/frosting.
For the lid I used a cut out square from the label off the back of the bottle.
Stupidly I left my camera at Bailey's house ready for her party so some of the photos were taken with my little camera - apologies for the low quality.
Friday, 22 June 2012
Travel Wallet and Luggage Tag
It was my friend Lucy's 21st last week and so I made her a little something I've had pinned for a while. I want to make one for myself because they are awesome and it was fairly easy and quick. The tutorial can be found here.
I did two holders instead of the three in the tutorial as I think that I would only use one for a passport and one for a ticket - I didn't think what else could be put in there as most things would be in a wallet.
I would have liked to put on a different colour button but this was all I had.
For the luggage tag I just used some plastic cut from a plastic folder, simple!
Saturday, 16 June 2012
Jubilee Shirt
I realise this is a little late but I did start on this shirt on the Jubilee weekend - better late than never! I used Simplicity Pattern 2599 (C).
It was much harder than anticipated and I have since decided I think I prefer creating from online tutorials than patterns, although I will try again. The Jubilee theme is obviously reflected in the colour scheme. Initally this was going to be a mock up before I made a shirt with my good fabric but I do quite like the colour scheme and the way it turned out so will probably wear it after all. I did of course make a few mistakes, mainly due to my haste to get it finished, the biggest of which is that the flounces are not very straight and a little off centre. You can't tell so much but it has to be quite strictly ironed for them to stay in place as a consequence so I may stitch them down. Other than that, (apart from the various "help me" emails and skype chats with Wendy - thank you!), I managed fine. I did have to undo a few things and redo them but nothing major. I did shortcut a step in that instead of hemming the flounces, something incredibly difficult on a curve, I just left it as the material wasn't particularly fray-ey and it was only really a mock up. It worked fine as you can see below.
Wednesday, 13 June 2012
First unassisted dress!
I apologise for the lack of posting. Exams are now over and I did think I'd have a few things up by now but all the other things I'd been putting off until after exams got in the way. I did spend a lot of time circling fabric shops and looking at patterns and ended up buying my first pattern - a summer shirt with flounces from Simplicity. I picked it because it looked easy. What did I know.. I started it last week and am still working hard on it, having emailed and skyped Faron's mum Wendy may times about things I don't understand. I was quite eager to get something up on the blog as it has been too long now so I gave the shirt a rest for now and started a dress I have been saving for a while now on Pinterest. It's a super easy tutorial for "the most flattering shirt dress" from Prudent Baby. If you have never made clothes before this is a great place to start (as I did!). A lot of the dresses I have and love are this shape so I wanted to make it in this lovely fabric I got in Spain last summer.
I did have a few problems, which were to be expected. I cut the neck far too low and obviously couldn't go back so ended up sewing the V neck together at the bottom. It was also very puffy under the arms and above the waistline and not really flattering so like in the tutorial I sewed a diagonal line from the waistband to the bottom of the armhole.. many lines.. to fit! I think my armholes also were too big but I know for next time. I really liked using the bias tape for the armhole and neckhole finishing, something new for me.
It's very light material so great for summer. I am looking forward to wearing it.
Hopefully my shirt will be up soon and another dress I have been working on/finished, but did wrong and have to unpick.. a lot!
I did have a few problems, which were to be expected. I cut the neck far too low and obviously couldn't go back so ended up sewing the V neck together at the bottom. It was also very puffy under the arms and above the waistline and not really flattering so like in the tutorial I sewed a diagonal line from the waistband to the bottom of the armhole.. many lines.. to fit! I think my armholes also were too big but I know for next time. I really liked using the bias tape for the armhole and neckhole finishing, something new for me.
It's very light material so great for summer. I am looking forward to wearing it.
Hopefully my shirt will be up soon and another dress I have been working on/finished, but did wrong and have to unpick.. a lot!
Tuesday, 8 May 2012
Terry's Chocolate Orange Cake
I have not been nearly as creative as I would like to be recently as it is exam period. Luckily (or unluckily as there is less time to stuff information into my head) I finish June 1st so I am looking forward to a long month of creating then. Until that date, I thought I'd show off my birthday cake that Faron made for me. It's my 21st tomorrow and I had a party last Friday where I was surprised with a Terry's Chocolate Orange birthday cake! If it wasn't obvious I LOVE Terry's chocolate orange..
He made the cake his usual way - weighing the eggs then adding that weight of sugar, flour and butter, and a tablespoon of cocoa. (At this point I would have added orange zest in the mix - he didn't want it to be too orangey but after tasting that would have worked well). Between the layers of cake he made a delicious filling:
Next post will be in June when my exams are finally over :)
100g dark chocolate
Knob of butter
2 tablespoons marmalade
He made a bain-marie with the chocolate and butter then stirred in 2 tablespoons of orange marmalade. He topped the cake with Terry's chocolate orange slices and chocolate orange buttons. It was beautiful and delicious, and went within 10 minutes!
Saturday, 28 April 2012
Cherry Tomato and Sweet Chilli Jam (with cheese sables!)
While at Faron's house over the holiday I had a lot of this amazing cherry tomato and sweet chilli jam his mum Wendy made with EVERYTHING. When I got home I was delighted to find my mum had also made it! Before I left I made a batch for myself to take back to uni as it was so delicious and my chef of a mum whipped up some amazing cheesy biscuits to go with it. It's a match made in heaven.
Check out the recipe for the jam here (from the delicious magazine that both mums and my nan subscribe to). The recipe for the "cheese sables"/biscuits is also from the magazine! They are almost like savoury shortbread. I hugely recommend both of these recipes! Together they would be a great gift.
Subscribe to:
Posts (Atom)